The past days I was looking for inspiration in famous old paintings, and got interested on "Starry Night" of Van Gogh and thought: Can I apply this to web design? And the answer is Yes! Then after several hours of work, here's my tutorial for you, an artistic web design depicting a "Magic Night" concept.
Final Image Preview
Before we get started, let's take a look at the image we'll be creating.
Step 1
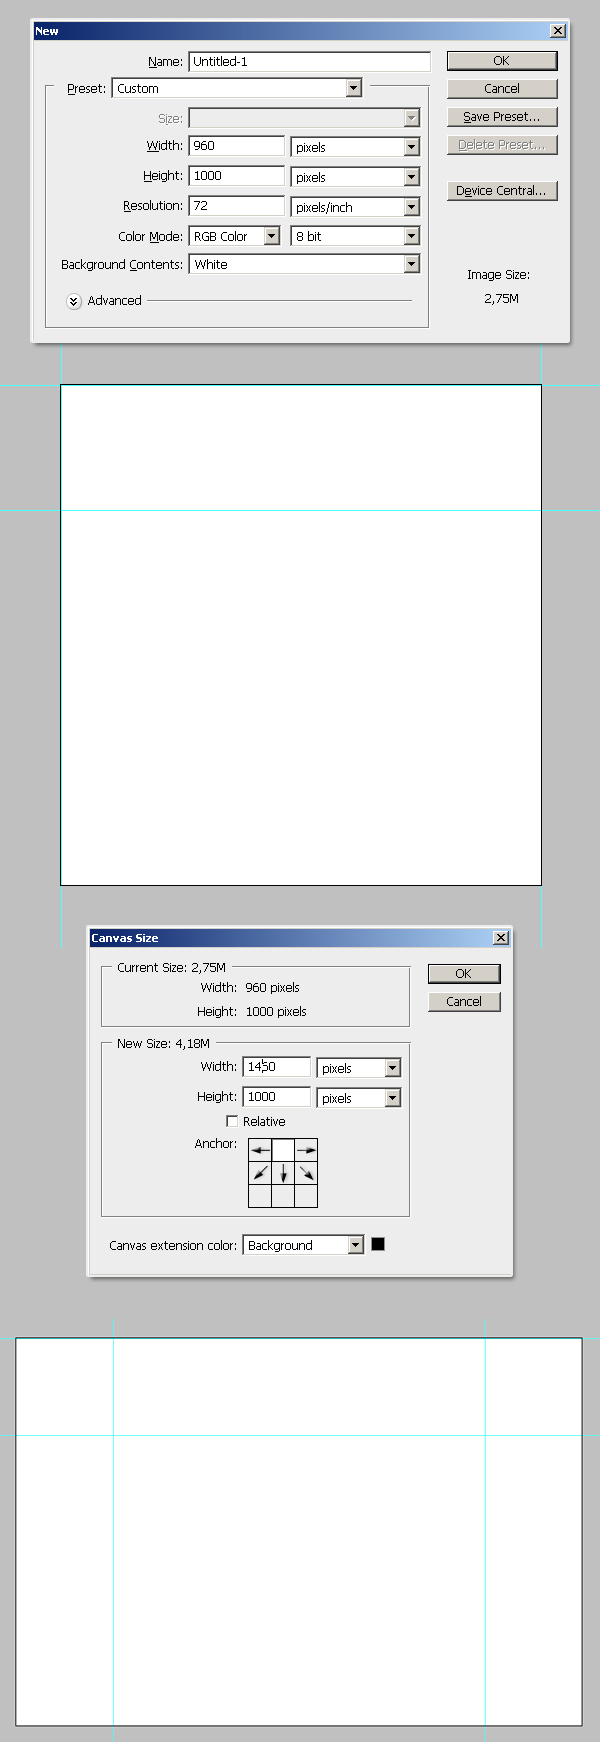
Let's the design begin! First of all, this isn't a basic tutorial, so I'll skip some basic explanations. Anyway, anyone with an intermediate - advance level of Photoshop skills will be able to do it. Second, it's really hard to obtain exactly the same result that I've got, and you must use your imagination and good taste to get something similar or better than my design. And third, this was designed by considering application into a Wordpress template, but you can quickly convert it into another engine's theme, or even a custom website.Moving forward then! Create a new document 960 pixels by 1000 pixels and RGB. Draw some guides to mark the limits and go to Image > Canvas Size to resize the document making the canvas' width bigger (1460 x 1000 px). This way you'll have your design centered into a big document and see how it looks on widescreen resolutions. Also, draw a guide to mark the header height.
Step 2
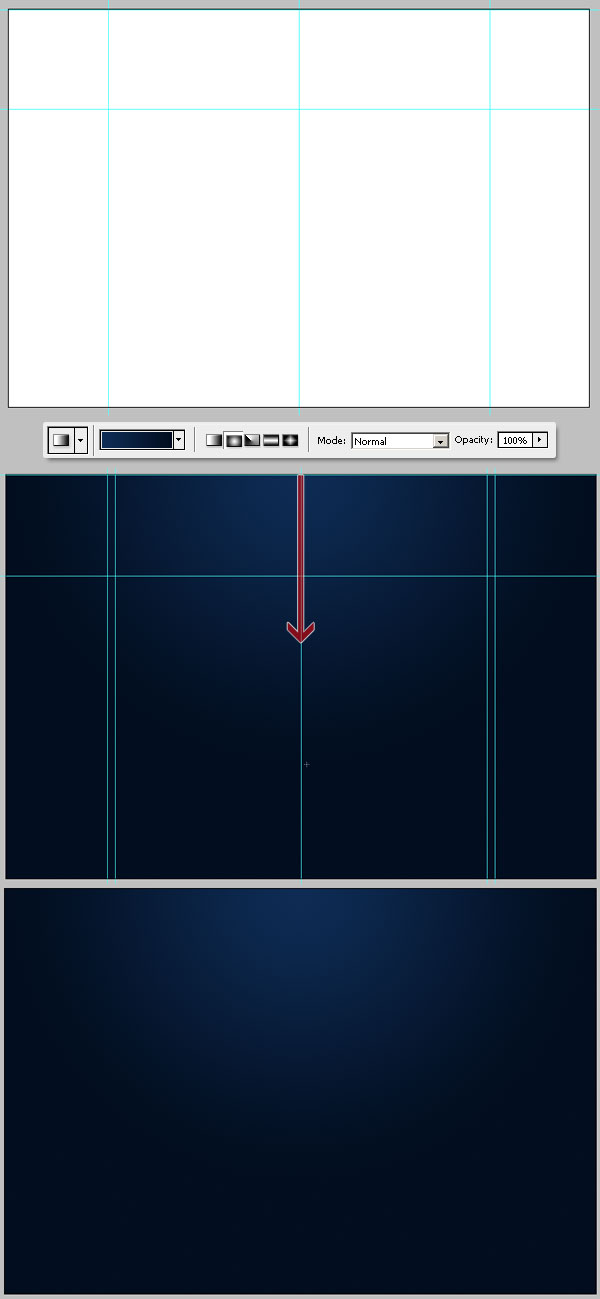
Draw a horizontal guide in the middle of the document and use it to fill the "Background" layer with a dark blue Radial Gradient (#0D2B53 - #010D1F). I'm also adding a few guides as bounds of the main page's padding on the left and right.It's very possible that we'll change the document's height later, so add a New Fill Layer (#010D1F) below our "Background" layer.
Step 3
Since one of the PSDTUTS readers suggested using real pictures instead of the classic Clouds filter, we'll try that this time. Paste this picture of some storm clouds into a new layer named "Clouds" and change its Blending Mode to Overlay. Then go to Layer > Layer Mask > Hide all, and draw a Radial Gradient from white to black (#FFFFFF - #000000), which goes from the middle top to almost the middle bottom. Then adjust the "Clouds" Levels a little bit to make the clouds darker.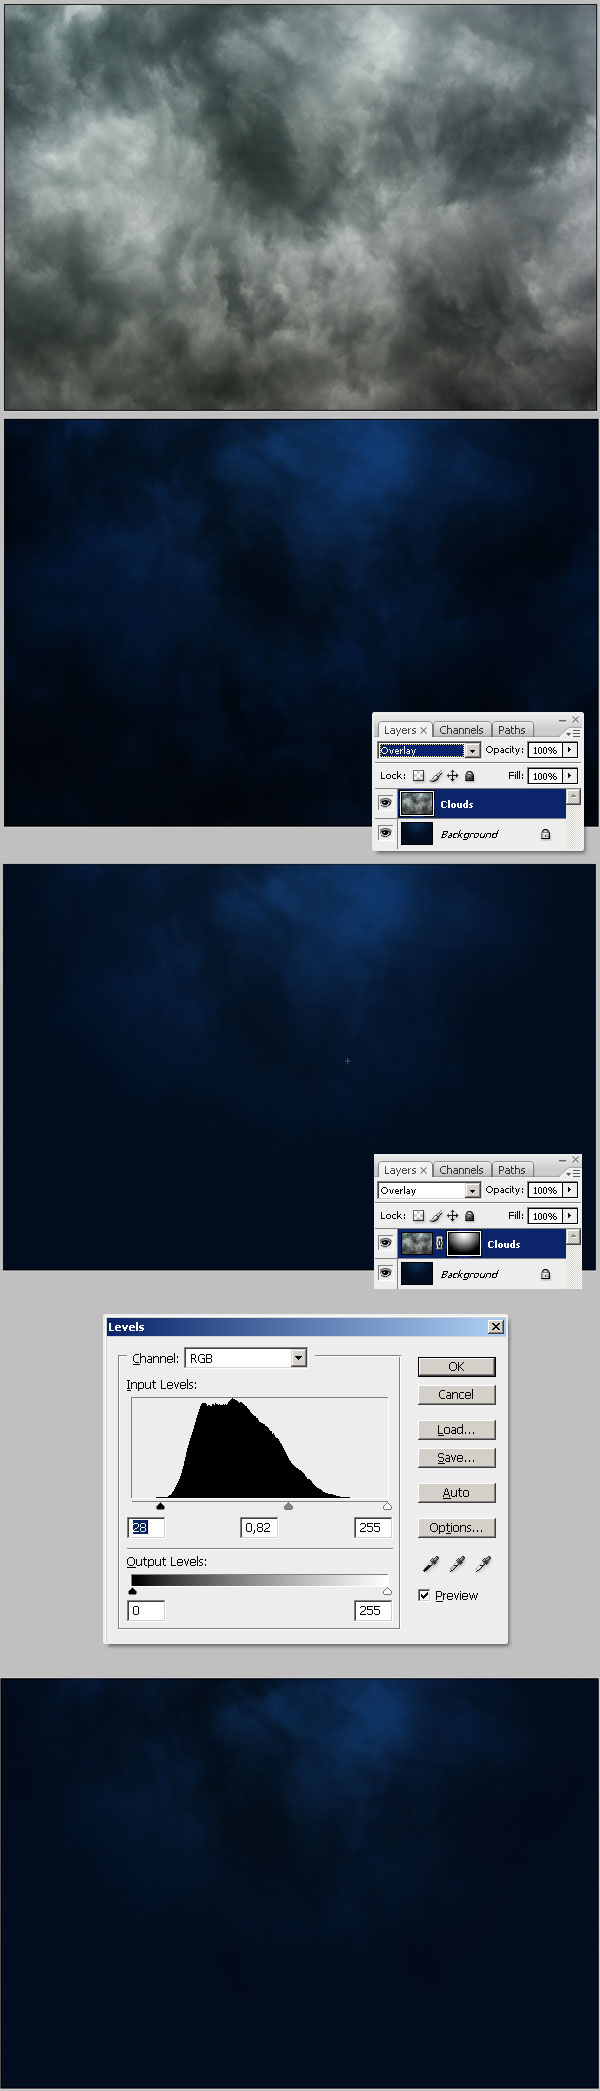
Step 4
Now paste this nice skyline of a spanish shore into a new layer named "skyline." Then create a new Adjustment Layer > Channel Mixer... and select Black & White with Blue Filter (RGB). Then to apply that effect just to the "skyline" layer in the layers palette, hold the Option key and click between the Channel Mixer layer and the "skyline" layer. Finally, change the "skyline" layer's Blending Mode to Overlay.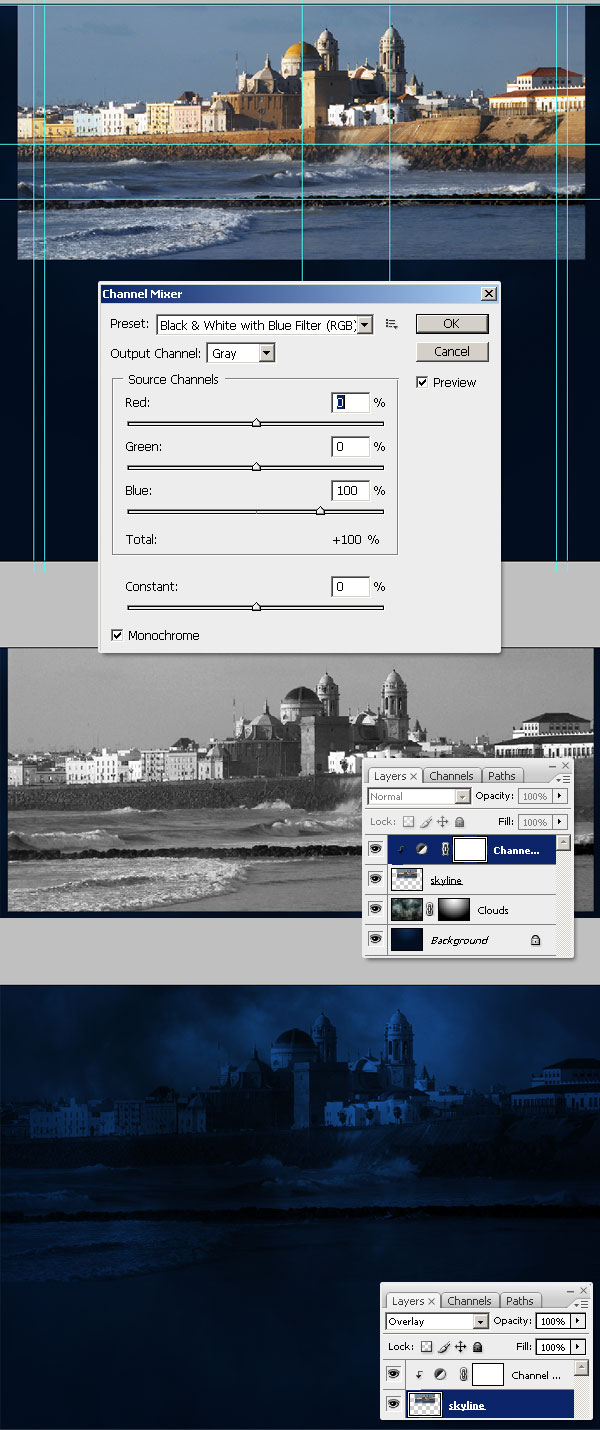
Step 5
Apply a Layer Mask > Reveal all to the "skyline" layer. Then using a big and black (#000000) soft Brush hide the borders of the image, then select a Grunge brush (I'm using this Grunge Brush set by Kelzky13, especially brushes 250 and 181) and make the borders a little bit more irregular.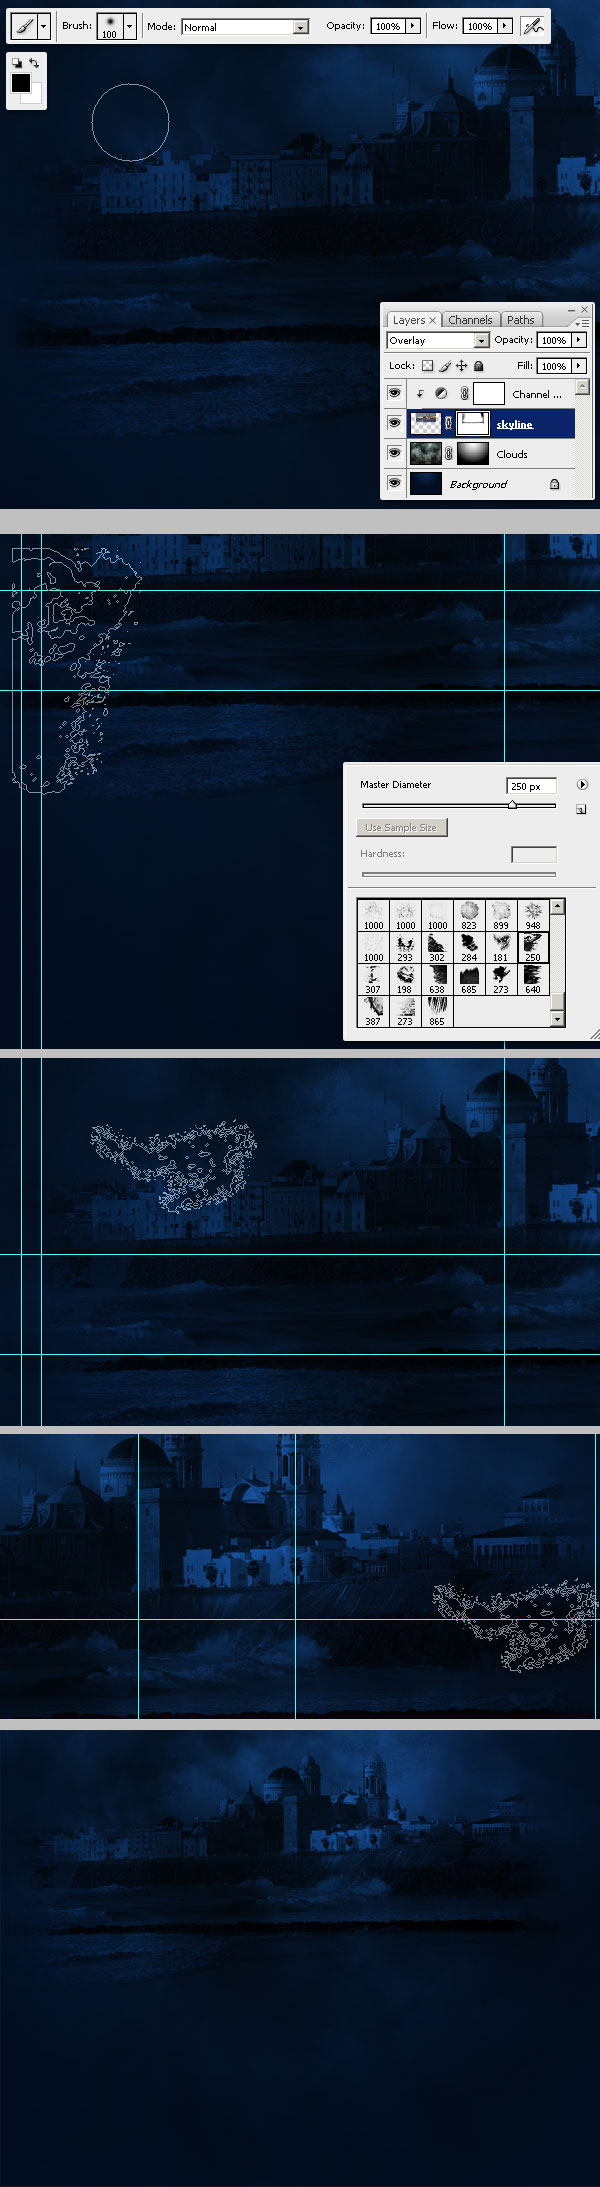
Step 6
Next type the title "Magic" using the Scriptina font. Then apply the layer styles shown below: an Outer Glow (#9EB6D0) and a Gradient Overlay (#70ABF6, #FFFFFF, #B4CBE7, to #FFFFFF). Also, now is a good time to organize our developing design into folders. Put all the layers into a new folder named "Background" and the text inside another folder named "Logo."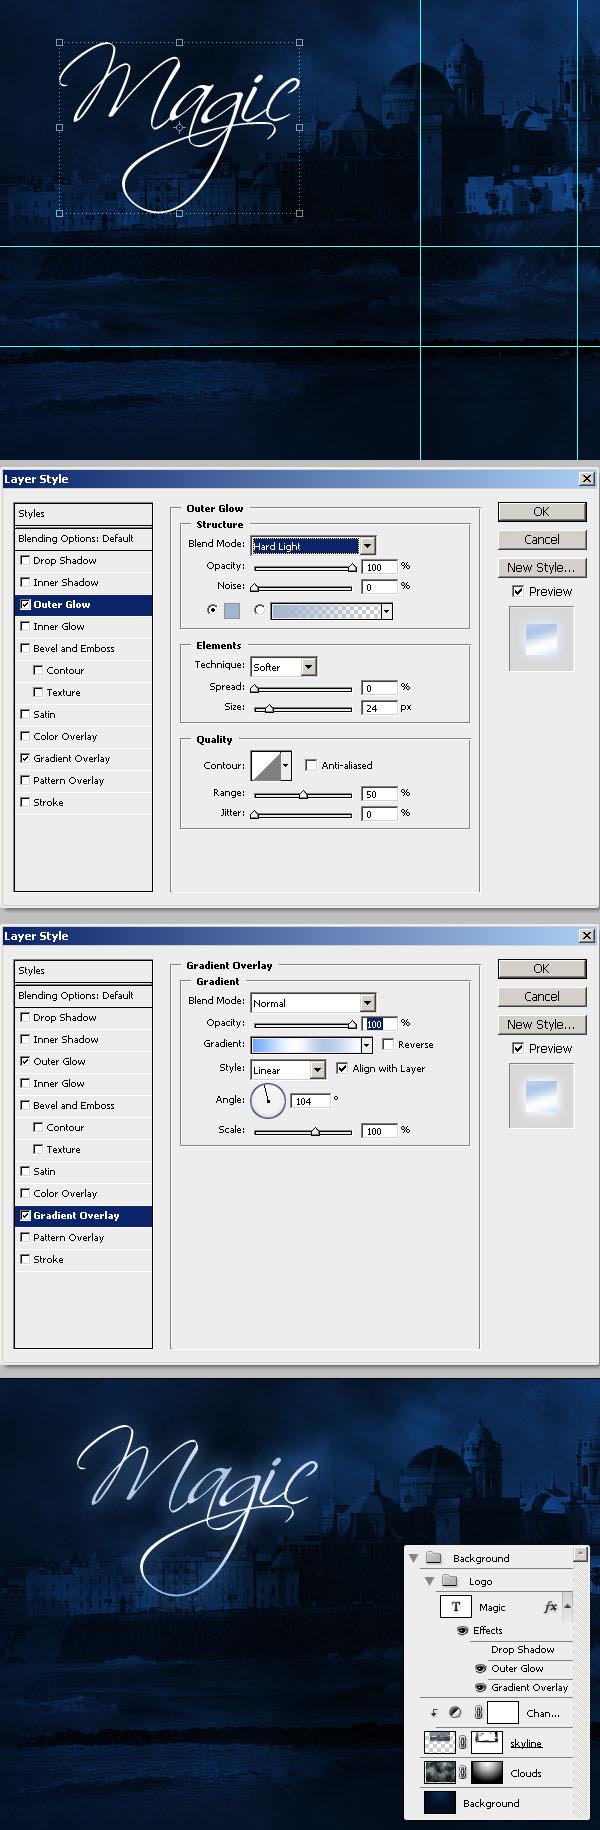
Step 7
Now we'll add some stars to our design, you can use any star Brush set but I'm using this set: Star field brushes by BL1nX. Then using the brush 550 of the set, paint the stars in white (#FFFFFF) into a new layer inside a folder named "Stars." Notice that I'm putting the brightest star over the dot of the i. Then apply a gradient overlay using three colors (#3A8FEF, #FFFFFF, and #66C9FC) to the "Stars1" layer.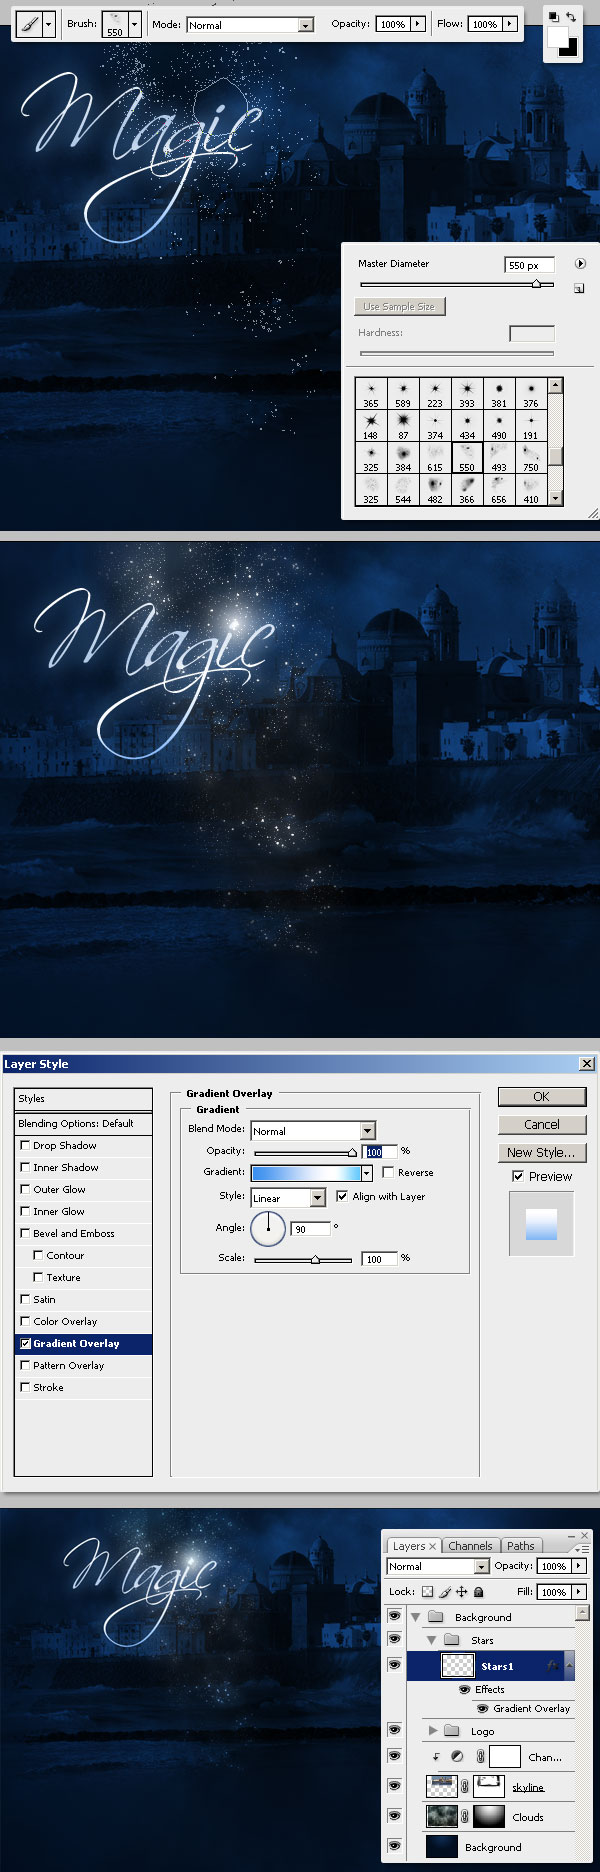
Step 8
Next, using the brush 615 of the stars field set, add more stars to the sky into a new layer named "Stars2," then with a soft Eraser, delete the stars over the buildings. Next, add a Outer Glow (#8AB2FF) to "Stars2."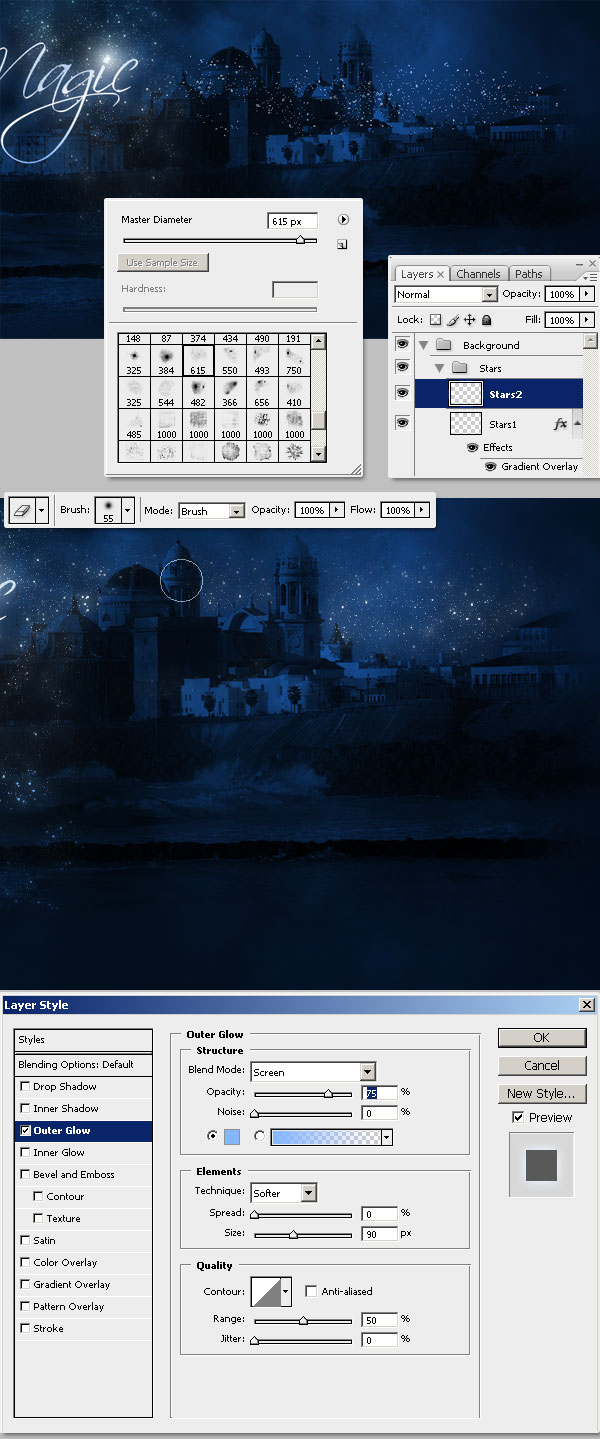
Step 9
Add more stars to the "Stars 2" layer all across the design, then using the Eraser tool, delete some areas of the stars. Finally, apply a Gradient Overlay effect to "Stars2" layer, using four colors: #6AB1D1, #FFFFFF, #94CFED, and #FFFFFF.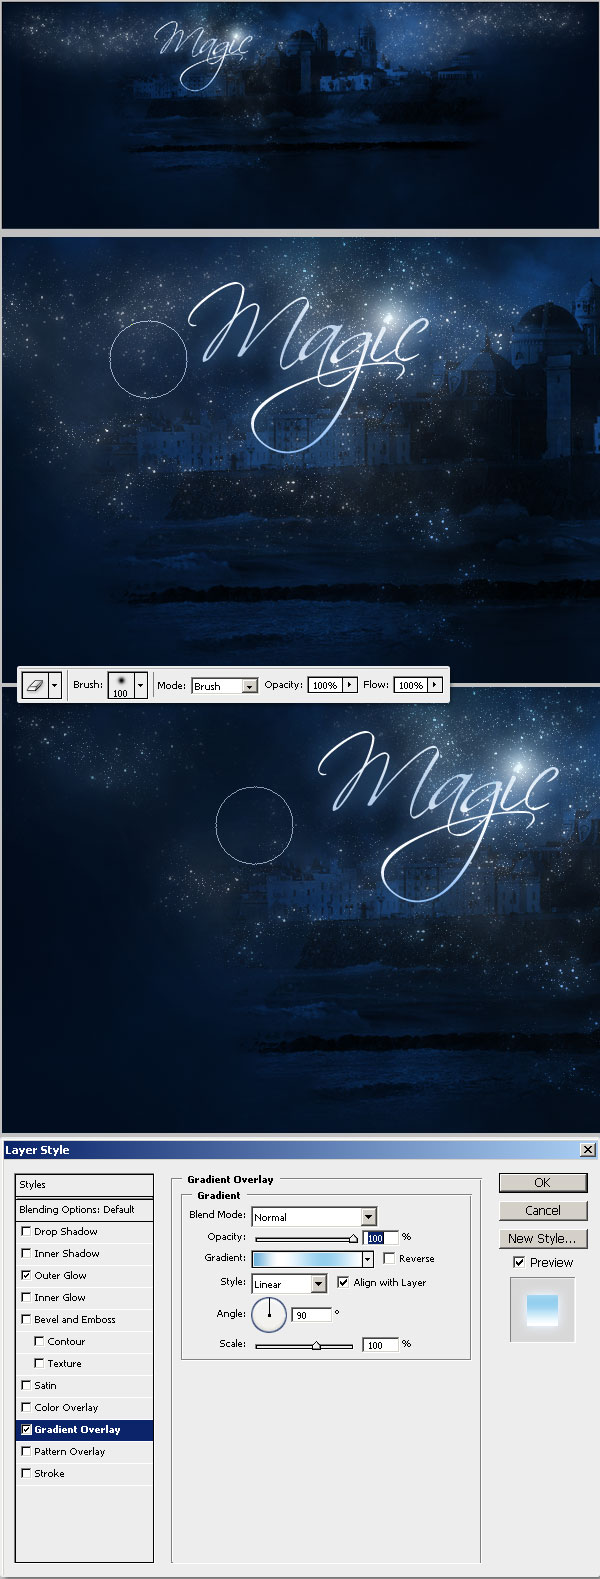
Step 10
Now download these Star Brushes by jen-ni and keep the brushes handy because we'll use them several times in this tutorial. Select a 65 px brush (I'm using number 148) and draw a white (#FFFFFF) star into a new layer just above the dot of the i. Then apply an Outer Glow (#00BCF9) to the star to make it brighter.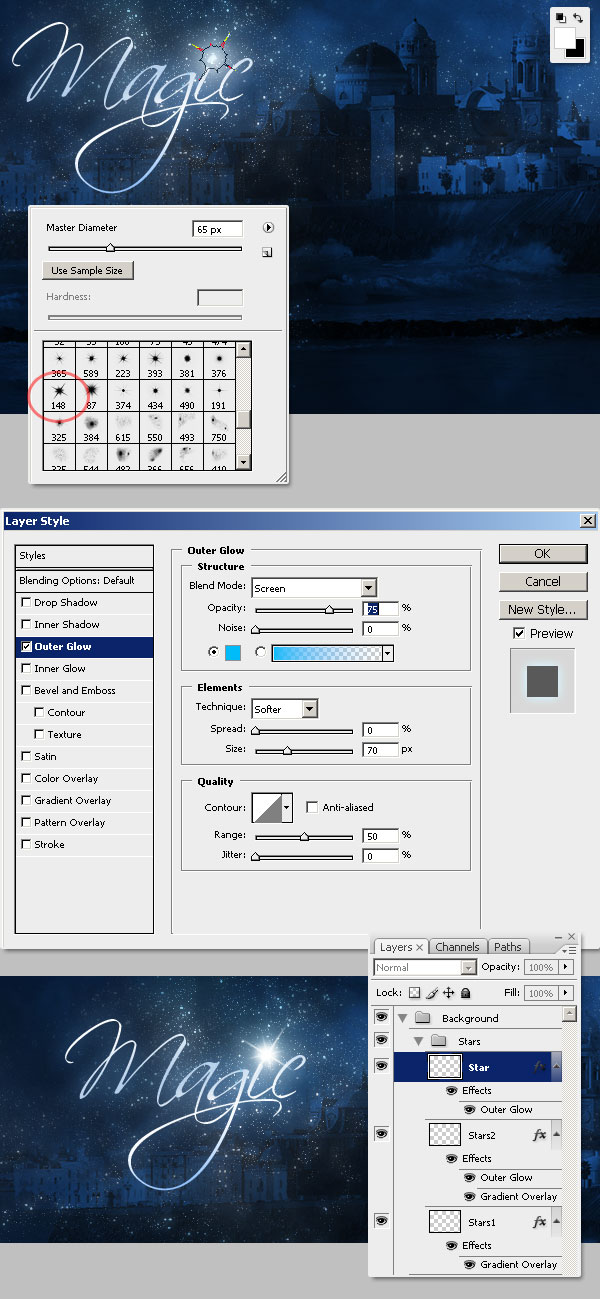
Step 11
Duplicate the "Magic" text, select the text, and type the word "Night" in it's place. Next, set the Outer Glow to white (#FFFFFF) and the Gradient overlay to three colors (#F9DA5B, #FEAE00, and #FFD403), see the image below to check the filter's values.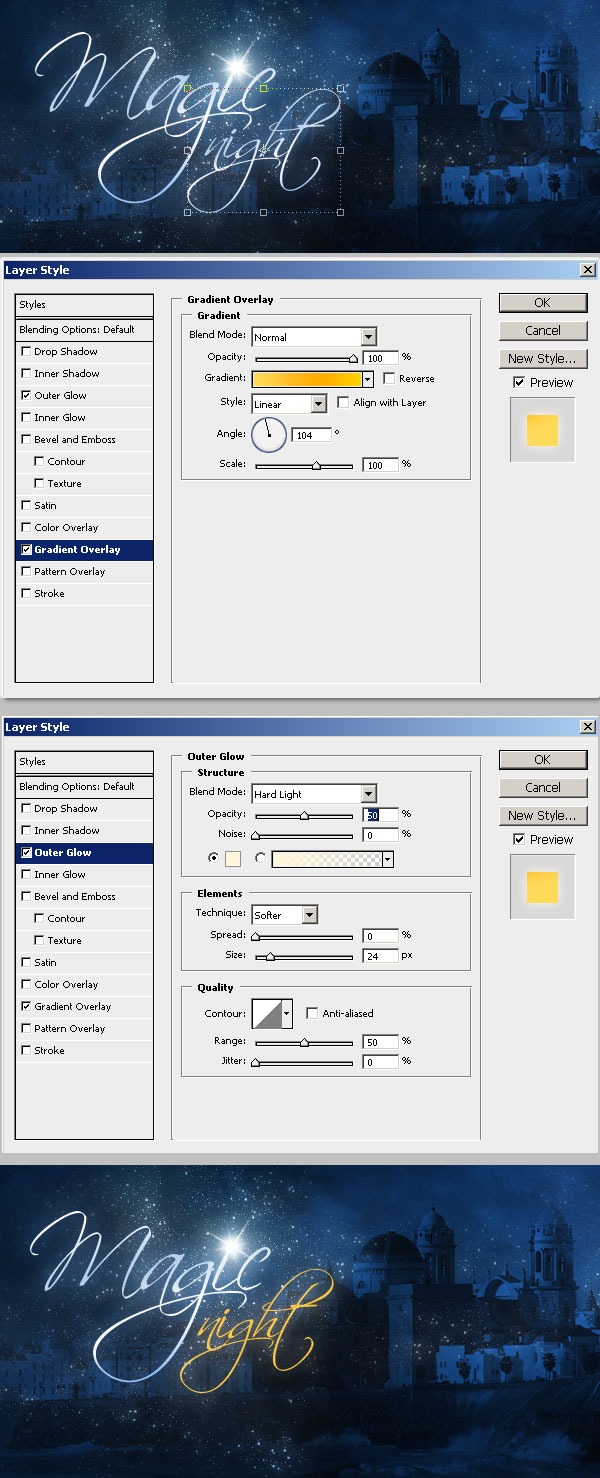
Step 12
Let's add some clouds to our night! Download redheadstock's Clouds II brushes. Next, select the brush number 2464 and set its size to 960px (matching the design layout's main width). Set the foreground color to #234B7F and paste a single cloud into a new layer named "cloud1." To keep the layers organized, I'm putting the clouds into a separate folder inside the "Background" folder. Now stretch the "cloud1" height a little bit.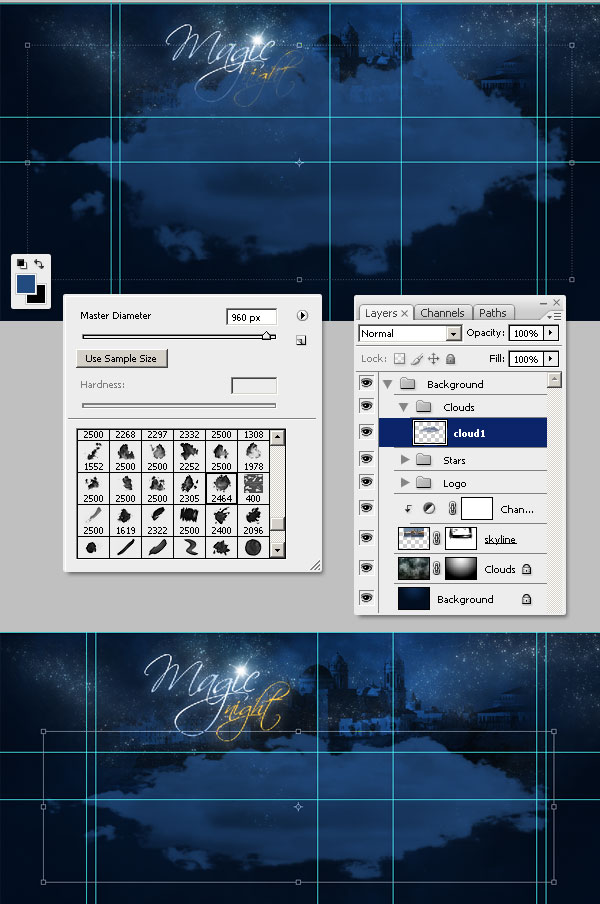
Step 13
Following, Dodge and Burn the cloud a bit. Notice that I'm lightening the areas next to logo star and darkening the cloud's bottom. Also, change the "cloud1" Opacity to 50%.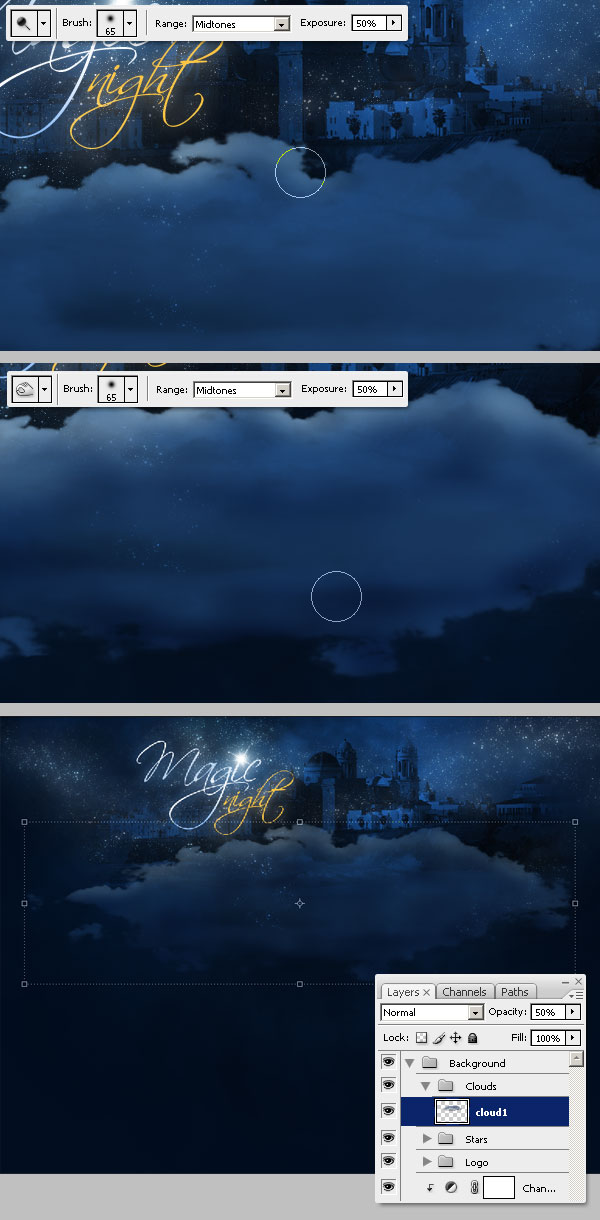
Step 14
Add one more cloud into a new layer named "cloud2." You can use any cloud you like, but use this color as a foreground: #5F83A5. Dodge the bottom of the cloud a little bit to improve the lighting sensation.
Step 15
Repeat the previous step but this time using another brush with this color: #36638C and place it above the "cloud1." Resize it, then Dodge and/or Burn the cloud if necessary.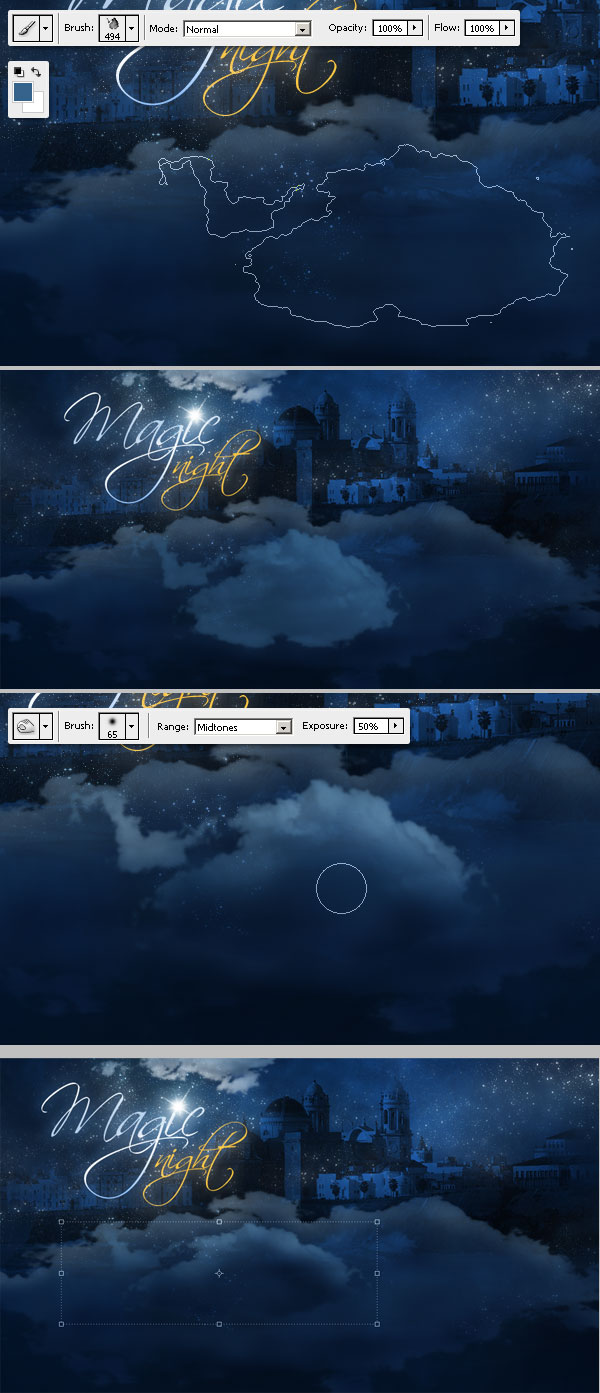
Step 16
Select a big soft Eraser and delete the bottom of the "cloud1" layer to create a fade out effect.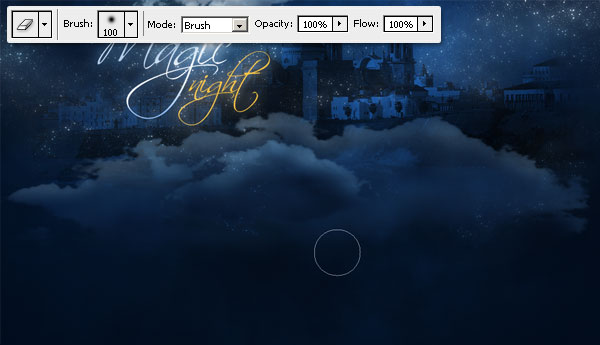
Step 17
This is actually a critical step, we'll add the main container background, you must never forget you're designing for the web. Using the Rectangle tool draw a vector rectangle (#0A1D37) into a new layer all below the "Clouds" folder. Notice that my rectangle is inside the padding Guides. Then select the rectangle layer and go to Layer > Layer Mask > Reveal all... and draw a white to black gradient, which adds a nice effect at the rectangle's top. Finally, drop a Guide below the Rectangle's fade in, which will help us when we turn this design into HTML + CSS. Notice, that from the guide to the bottom of the background color should be plain.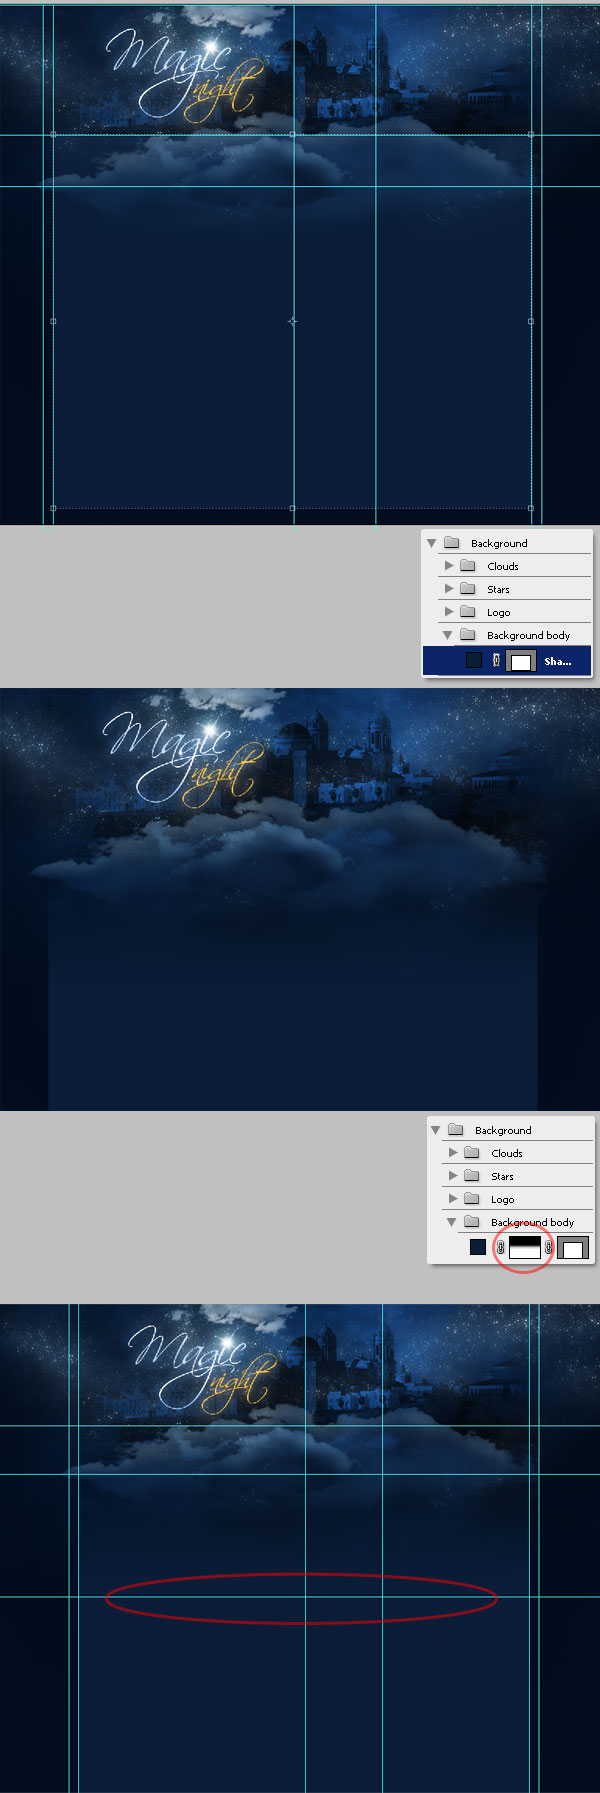
Step 18
Now add another rectangle but this time as the Sidebar background, again help yourself with a Guide, and use the color #091525. Then, apply to the new rectangle a Layer Mask a little bit just like in the previous step.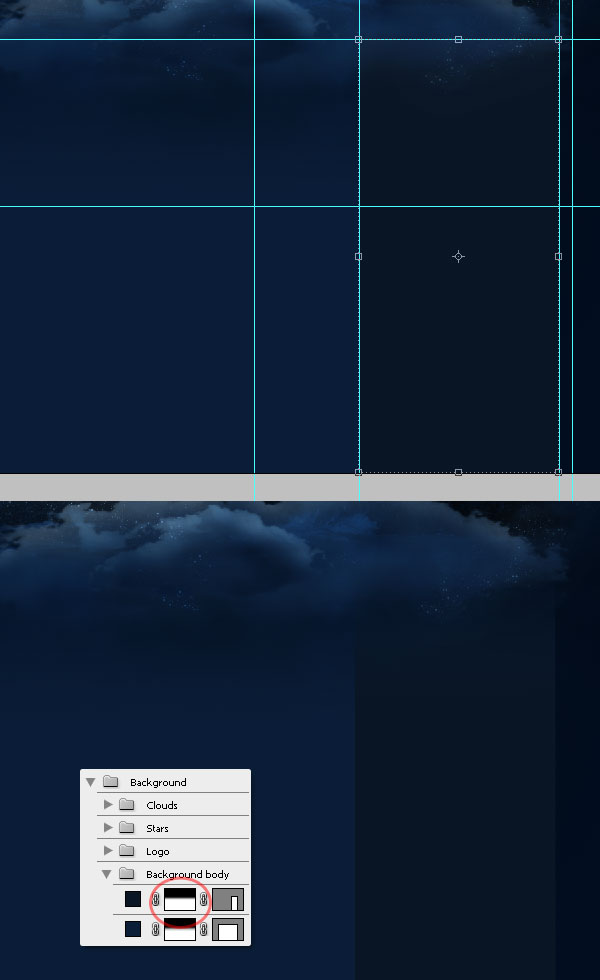
Step 19
At this point, we've got the basic header background done. Now it's time to add some details. I'll put a unique RSS icon on the header. Copy this picture of the full moon and paste it into a new layer named "moon-rss." Then adjust the Hue / Saturation values to make the moon a little bit more yellow, and add both Inner and Outer Glow filters (see the values shown below).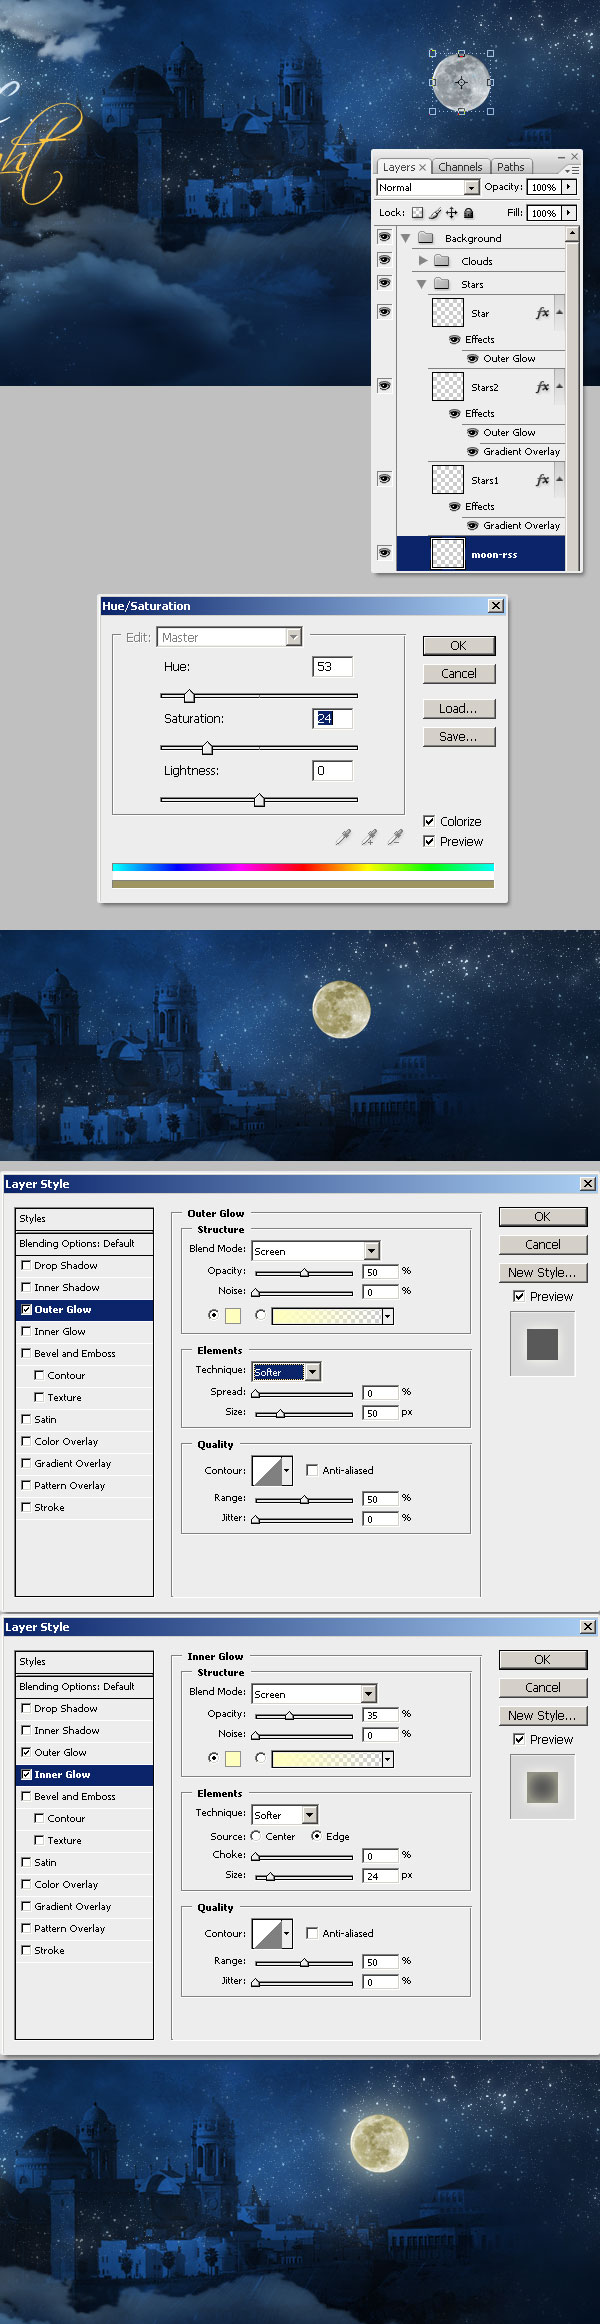
Step 20
Add a small cloud shape with the color #7997B3 into a new layer above the moon in the layers palette. Then using a big soft eraser, delete some areas of the new cloud.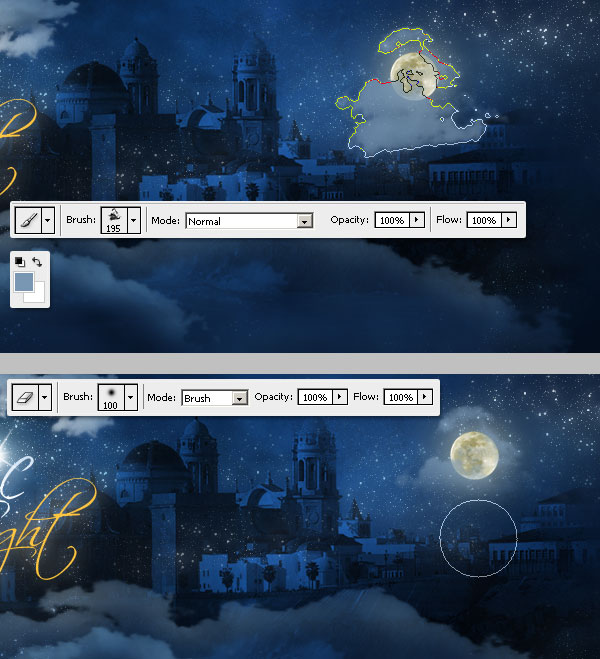
Step 21
Add the classic RSS shape (#DCA30B) into a new layer in front of "moon" layer but behind the "cloud" layer. Then, apply to it the filters shown below (a Gradient Overlay, an Outer Glow and a Drop Shadow). Finally, add a star somewhere over the RSS shape (see Step 10).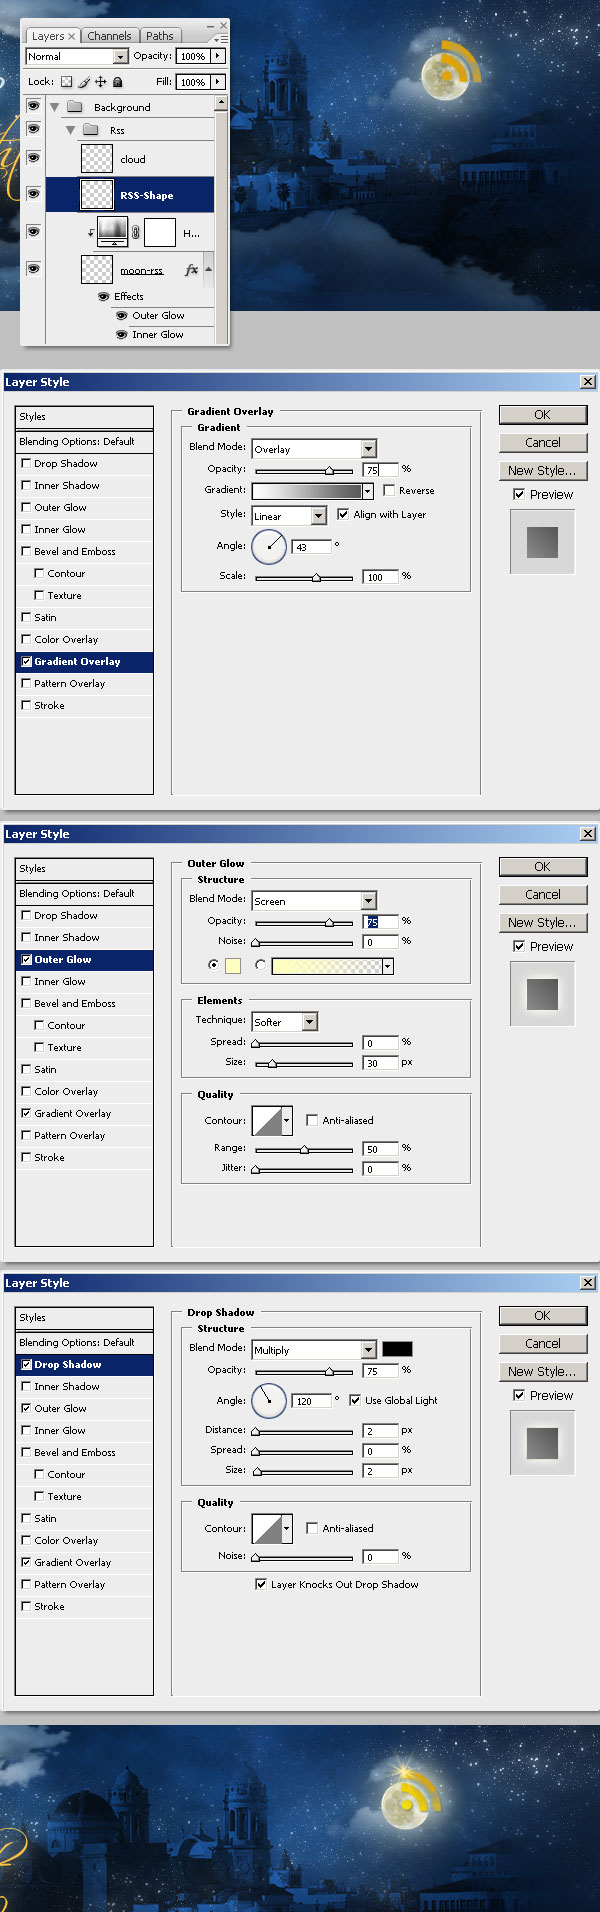
Step 22
Paste this image into a new layer, we'll use it as background of our main pages navigation bar. Since the original image is a little bit stretched, we need to make it more wide, I played with both selections and the Move (Free Transform) tool to increase the scroll's width. Then Warp the scroll just a little bit using the Flag warp.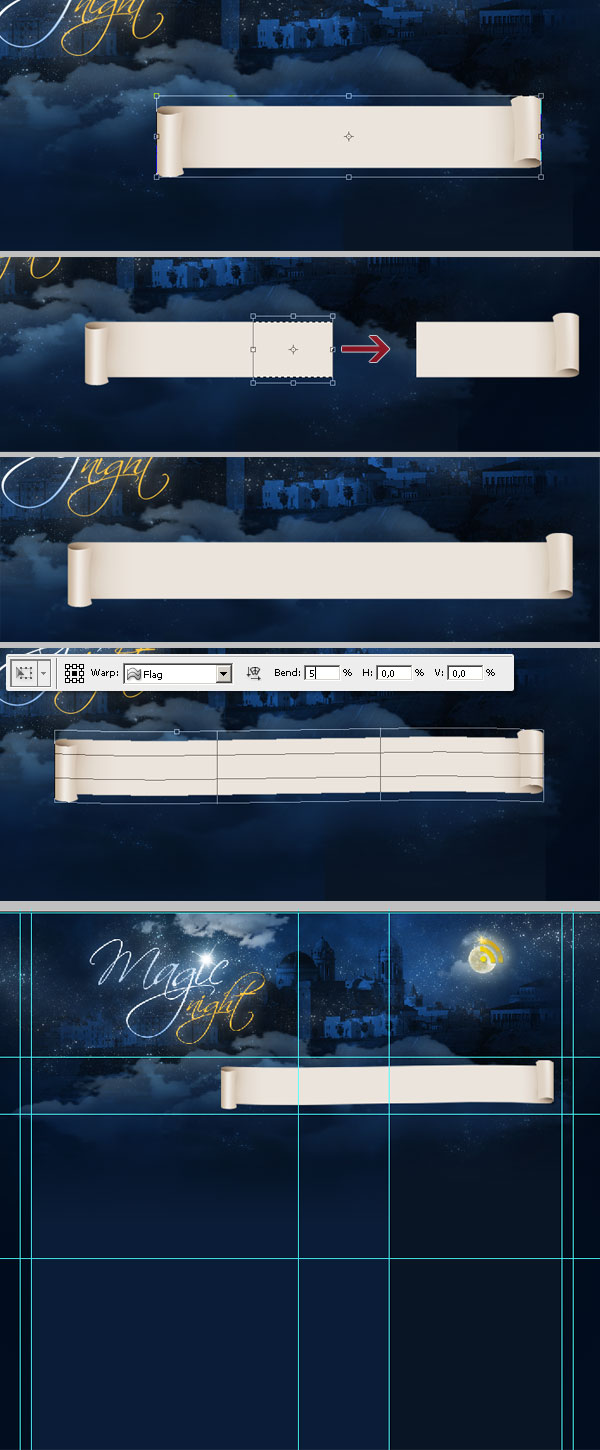
Step 23
Dodge some areas of the scroll to increase the shadows and to improve the warp illusion.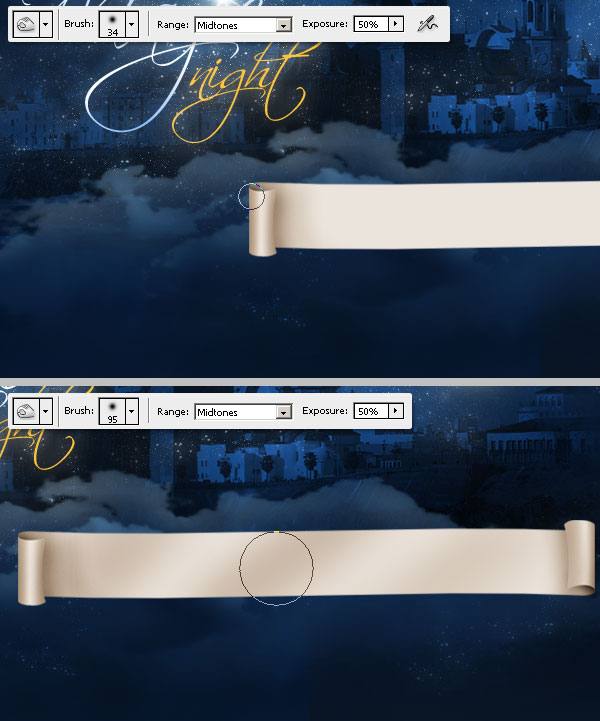
Step 24
To improve scroll's texture, apply a Gradient Overlay filter (#045F96 and #FBF4BD) and a Pattern Overlay as well.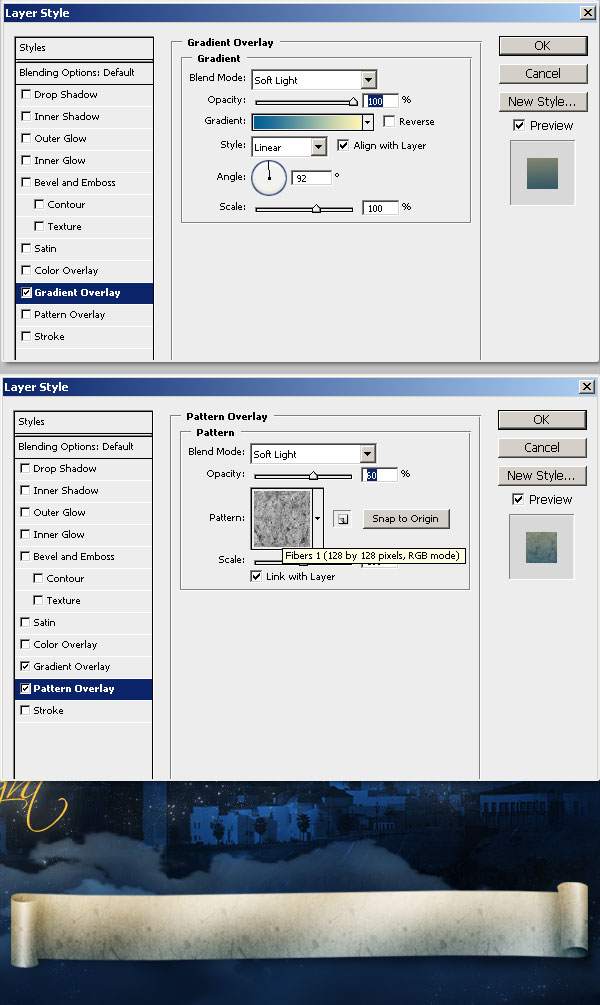
Step 25
Now add a Drop Shadow to the scroll. You can use the Drop Shadow filter or do what I did, duplicate the scroll layer, and on Hue / Saturation adjust the Lightening to -100, Blur the black copy a little bit and distort it with the Free Transform tool to make it irregular.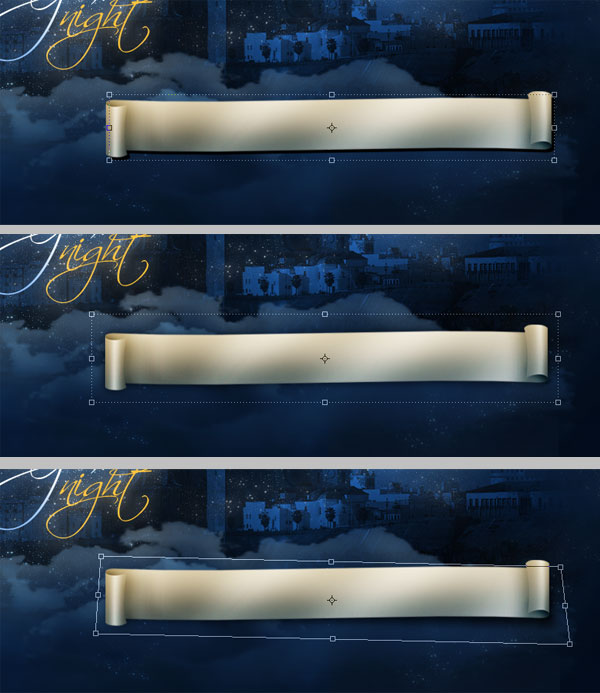
Step 26
Next, add a cloud over the scroll, Dodge, Burn and Delete just like in Step 15. Then add the Pages link's text using Georgia - Italic font. Use the color #0B1827 for the standard links, and the color #211808 for the hover link. Also, add some additional details like stars on the background and a line as the hover effect. You can see the layers' structure at the bottom of the image below.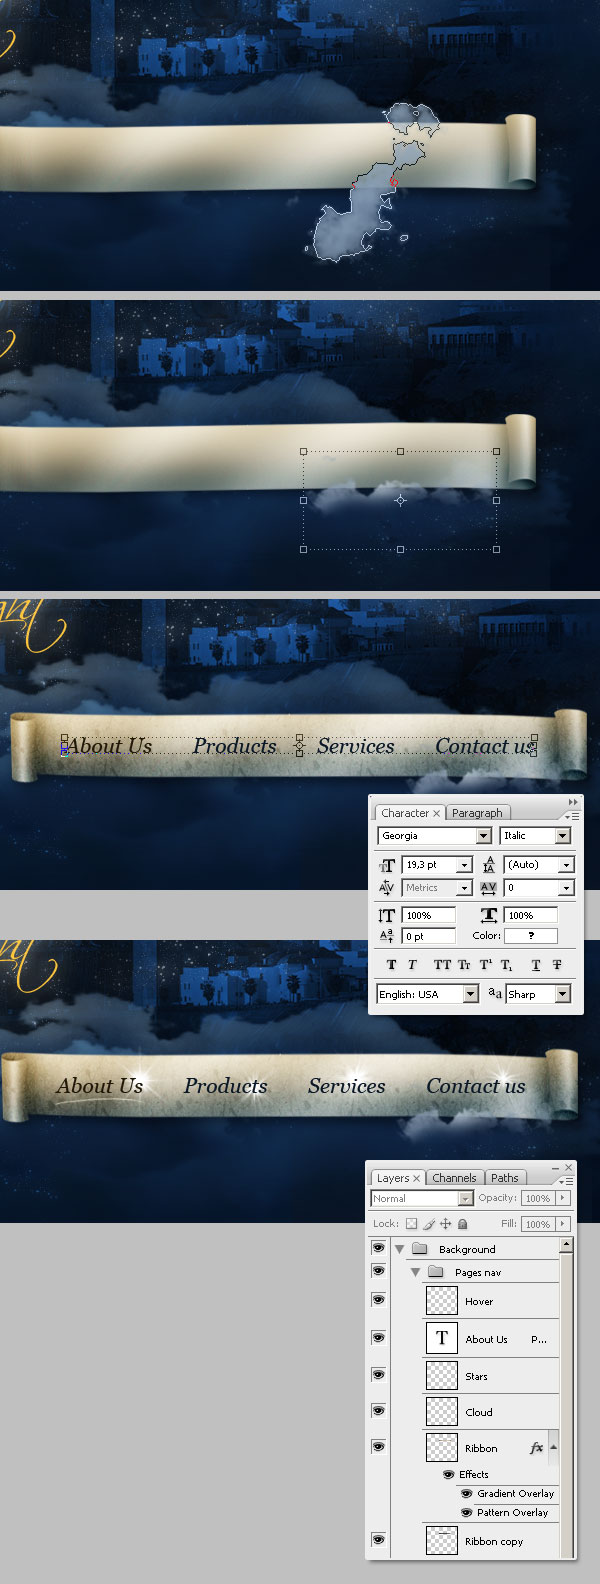
Step 27
As a final detail on the pages navigation bar, create a new layer above the scroll and using a particles brush, draw a line like it is a watercolor painting (see the image below). Do it a few more times but using different colors. Also, down the navigation bar "Stars" Opacity below 40%.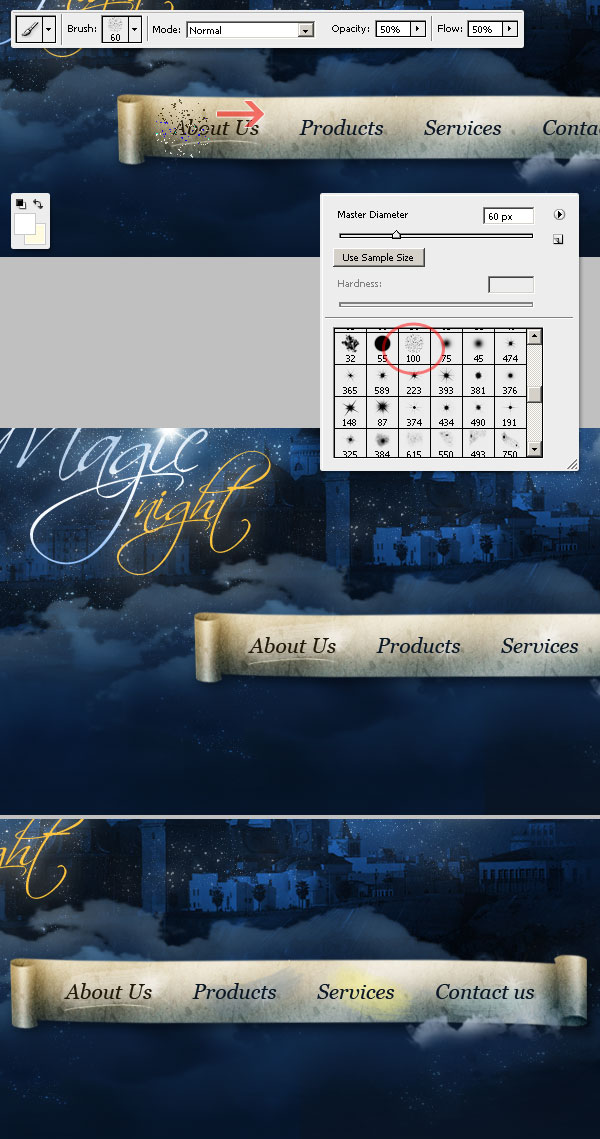
Step 28
Add the RSS related text. I'm using 10 px Aria, with yellow (#F2C90D) and white (#FFFFFF). Don't forget to set the Anti-aliasing Method to None because most of the browsers renders the text without any anti-aliasing (IE7 and Safari are the exceptions).
Step 29
As an additional detail add this picture of a nice balloon. Extract the balloon from its background and place it somewhere below the logo, add a Color Overlay (#1F416E - Blending Mode: Overlay) to the "Balloon" layer to match the scene colors. Also, you can Burn the balloon's left side just a little bit.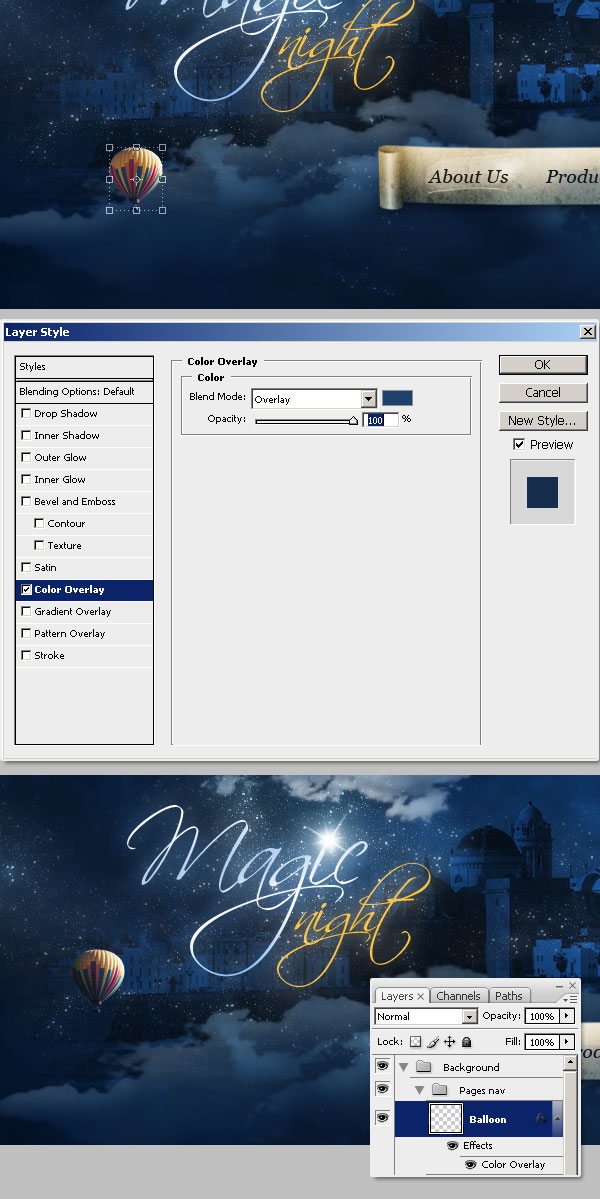
Step 30
Next using the brush 615 of the star field brushes (see Step 8) add more stars above the balloon and the scroll. I'm also adding a chord to the balloon by painting a white curved line with a 3 px solid brush. Also, use the Eraser here and there to reduce the amount of stars.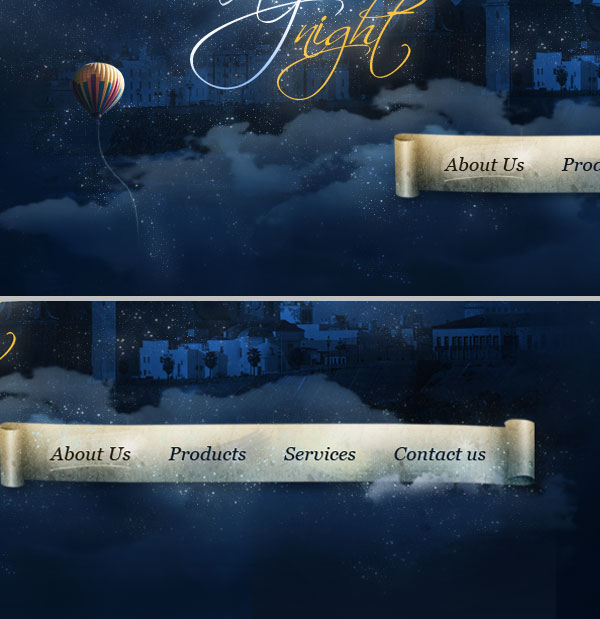
Step 31
It's time to add a post. First, add the title and the metadata row into a new layer named "Post." See the image below to view the Character values. Also, I'm adding a little star near the metadata as a visual detail.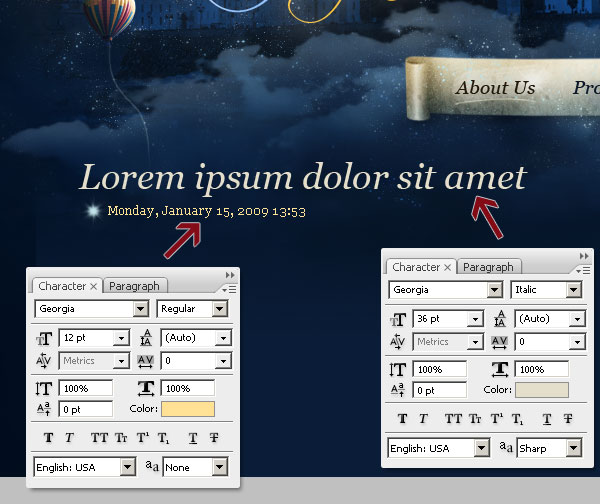
Step 32
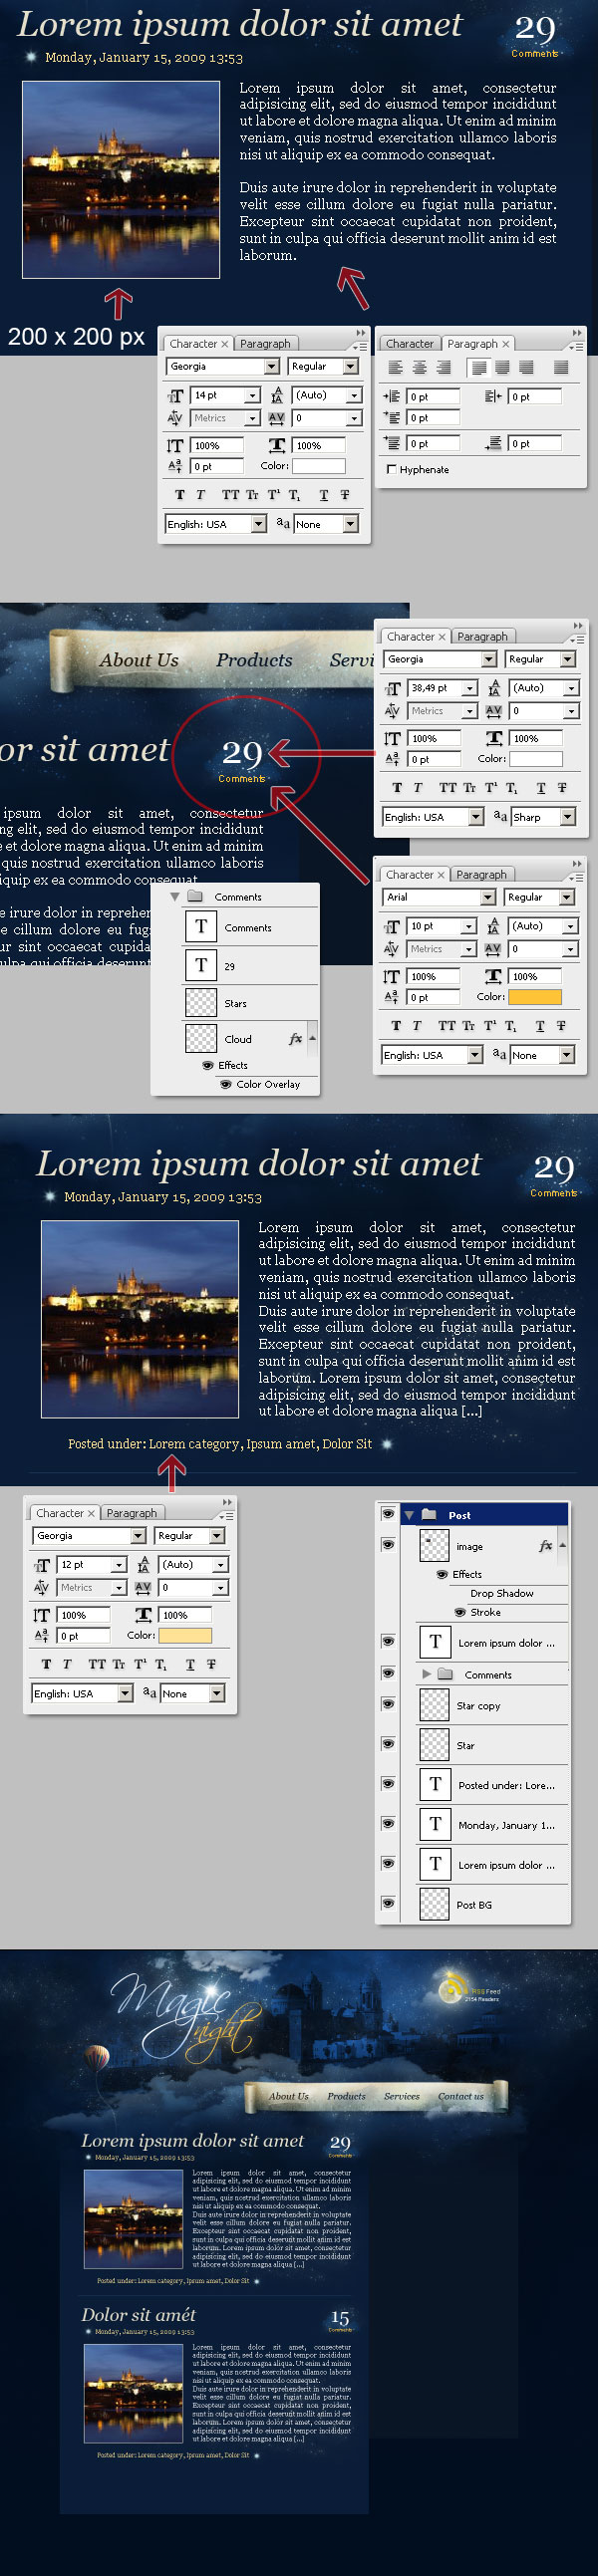
Let's add more info into the "Post" folder, since the list on the homepage will have a preview of several post. We'll add a preview image at left (200 px by 200 px with a 1px Stroke effect) and a brief text at the right. Also, we'll add a preview of how many comments the post has on top right. For the comments field, create a new folder named "Comments" and add a tiny background with a small cloud and some little stars. Basically, just repeat one of the previous steps when we were designing the header, but in a tiny measure. Then add the comments number and the word Comments below.Next, add a Tags line below the post and add a little star at the right of that line. Add a little star field as a background for the post, just if you want to. Finally, draw a divider (#1D324F) for the post using the Line Tool.
Then duplicate the "Post" folder and edit the copies to create two or three different posts. It's very possible that your document's height needs to be increased at this point, just do it by using the Crop tool or Image > Canvas size, jut like in Step 1. When you have resized your main document, increase the height of both the main background and sidebar background as well.
Step 33
Let's work on the sidebar now. We're going to add the Search form. Create a new folder named "Sidebar" and inside of it create another folder and name it "Search." Draw a cloud into that folder and dodge and bur it to make it look like the following image. Then using the Rounded Rectangle Tool, draw a rectangle over the cloud. Apply a 1px Inside Stroke effect (#697372) to the rectangle and change its Fill value to 50%.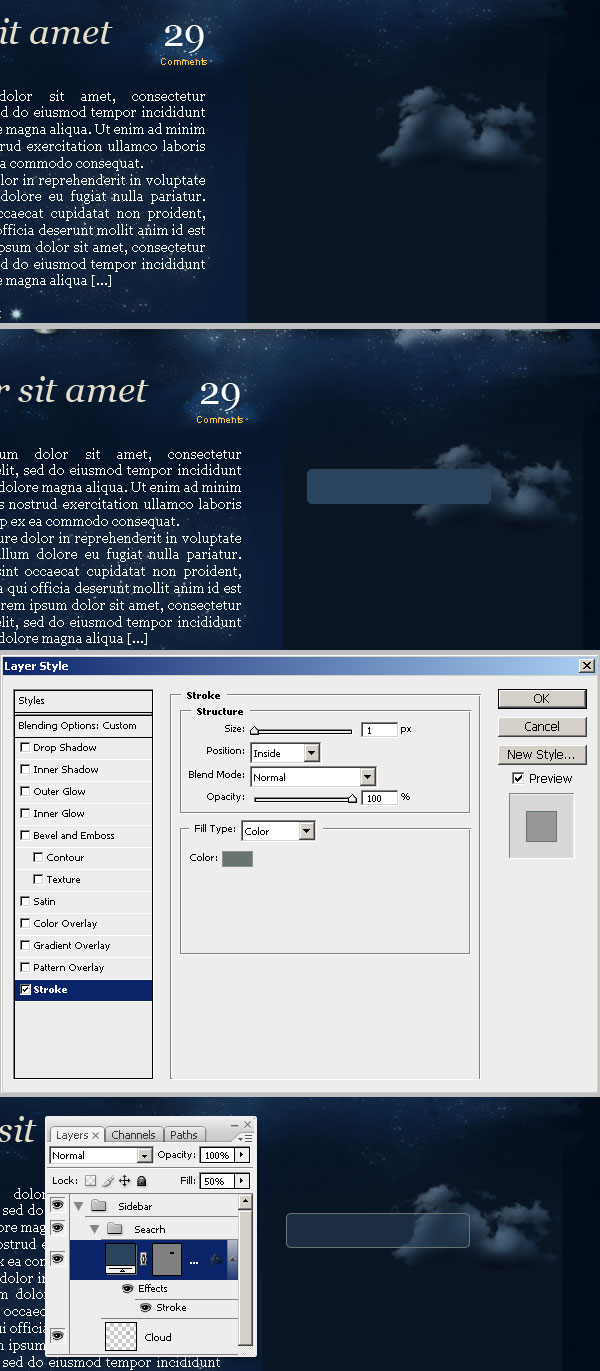
Step 34
Add some white stars above the cloud layer using any star field layer, remember erase all the extra stars. Then duplicate, reduce, and Edit > Flip horizontal the "balloon" layer of Step 29 . Put it into the "Search" Folder. Also, add the title text using Georgia Italic and a nice yellow (#D5A934) color. Next add the search instructions and the button "Go!". You can see the Character's values at the bottom of the following image. As a final detail draw a single bright star behind the text.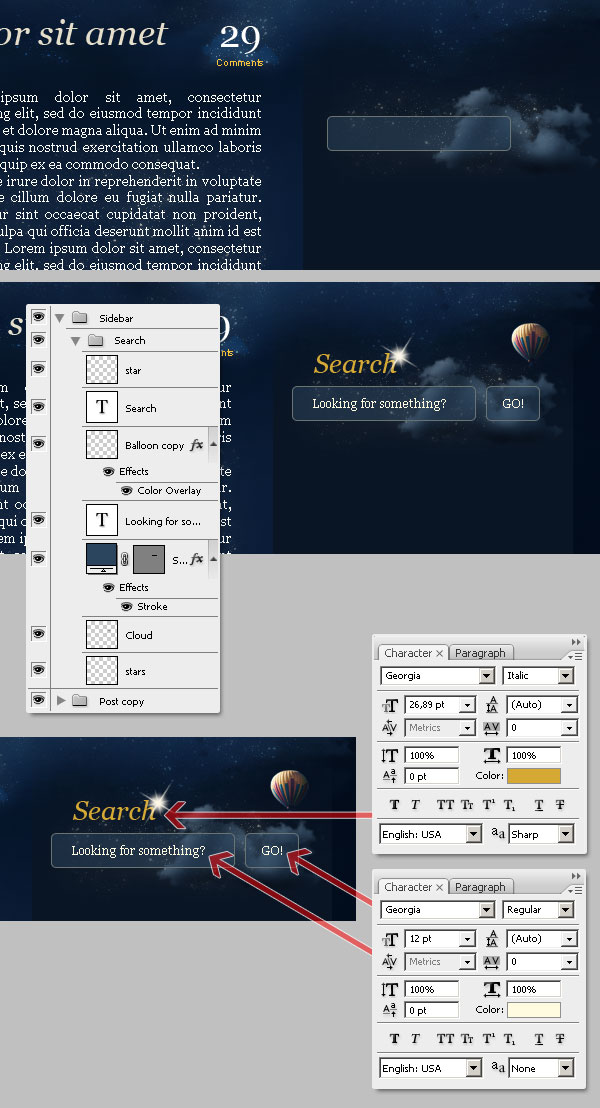
Step 35
Add the sidebar content text, titles, links, and put each section into a separate folder. Also, add a soft star field background on each folder and a shiny star behind each title. Besides, add a shiny star as an example of the hover effect on any link. Don't forget both padding and margin Guides.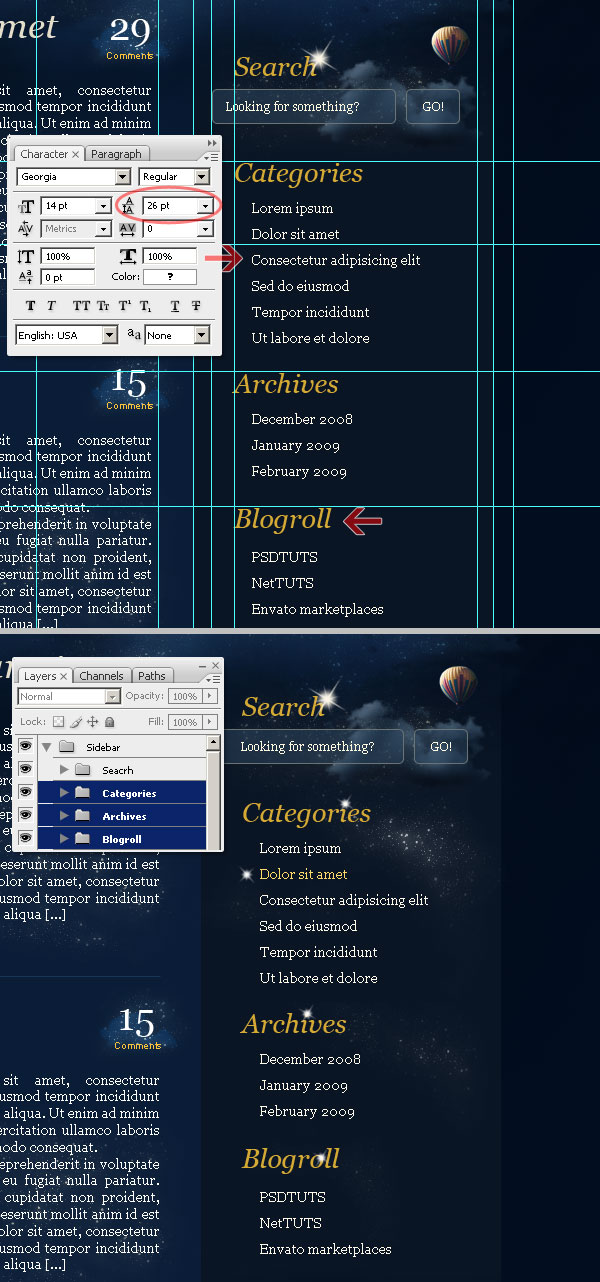
Step 36
We're reaching the end. Let's add a footer for the sidebar. First, fade out a little bit of the bottom of the sidebar's background painting with a soft brush on its layer mask. Next draw a few clouds, then Dodge and Burn them. Make sure that the clouds do not invade the main content background or exceed the sidebar's width. Then add a white star field behind the clouds and duplicate the balloon once more. I'm saving all this into a Folder named "Sidebar Footer."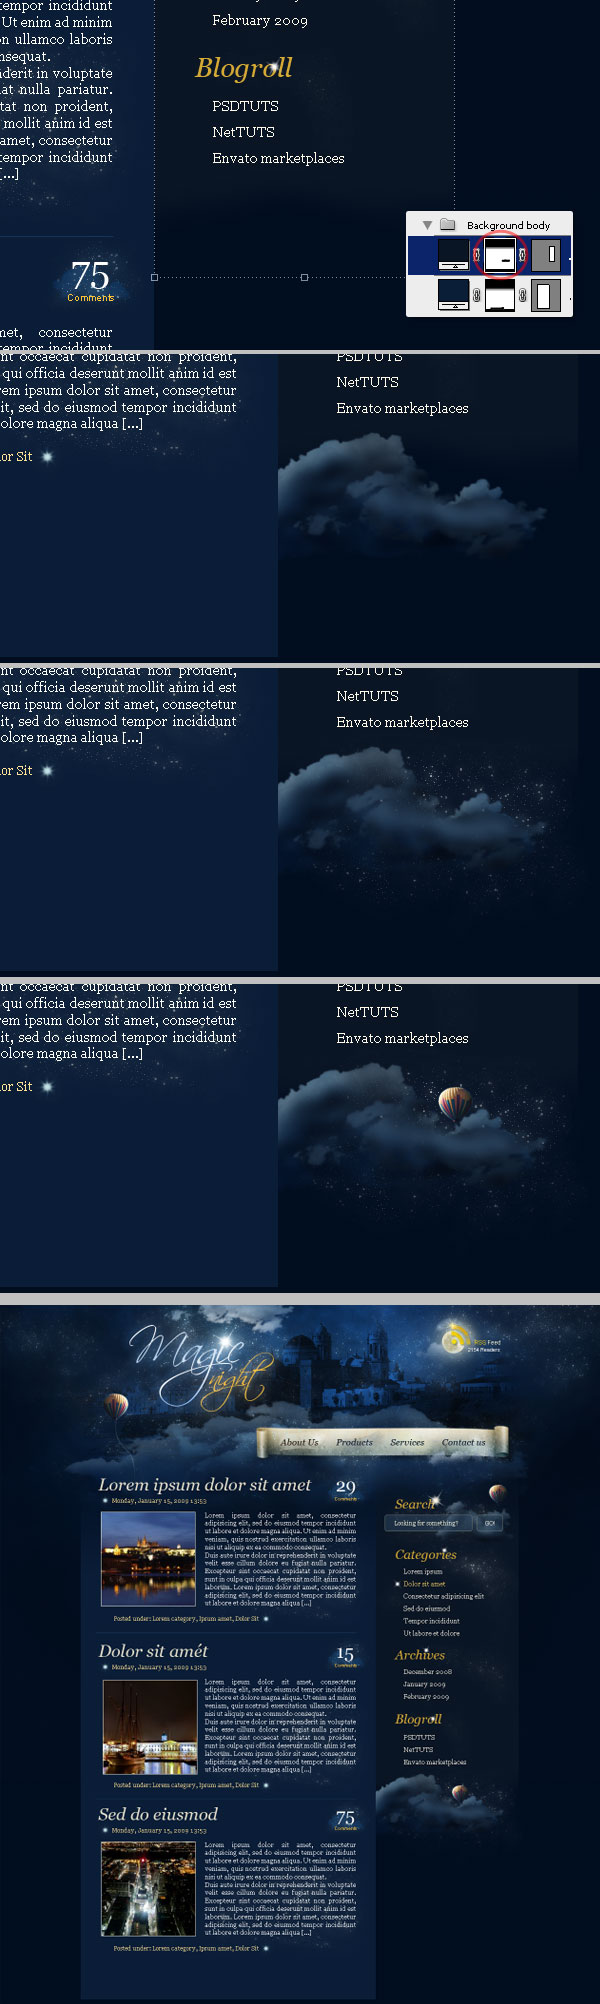
Step 37
Finally, we'll create the footer. First on the main content background's layer mask using a big soft brush, hide the bottom to fade it out. Then select some cloud brushes and paint them all across the bottom of the design. I'm combining big dark blue (#0B1C38) clouds and small blue #223E63) clouds, as shown in the images below. Remember, those clouds will become a background image, so try to not cross a Guide between content and footer. Besides, remember to put all the footer's related layers into a new folder named "Footer."
Step 38
Burn the lightest clouds. Then, paint a white star field by using brush 615 of the stars set. Following, paint a brighter star field with a different brush, in this case number 656 of the set. At last, delete the star field with a soft big Eraser.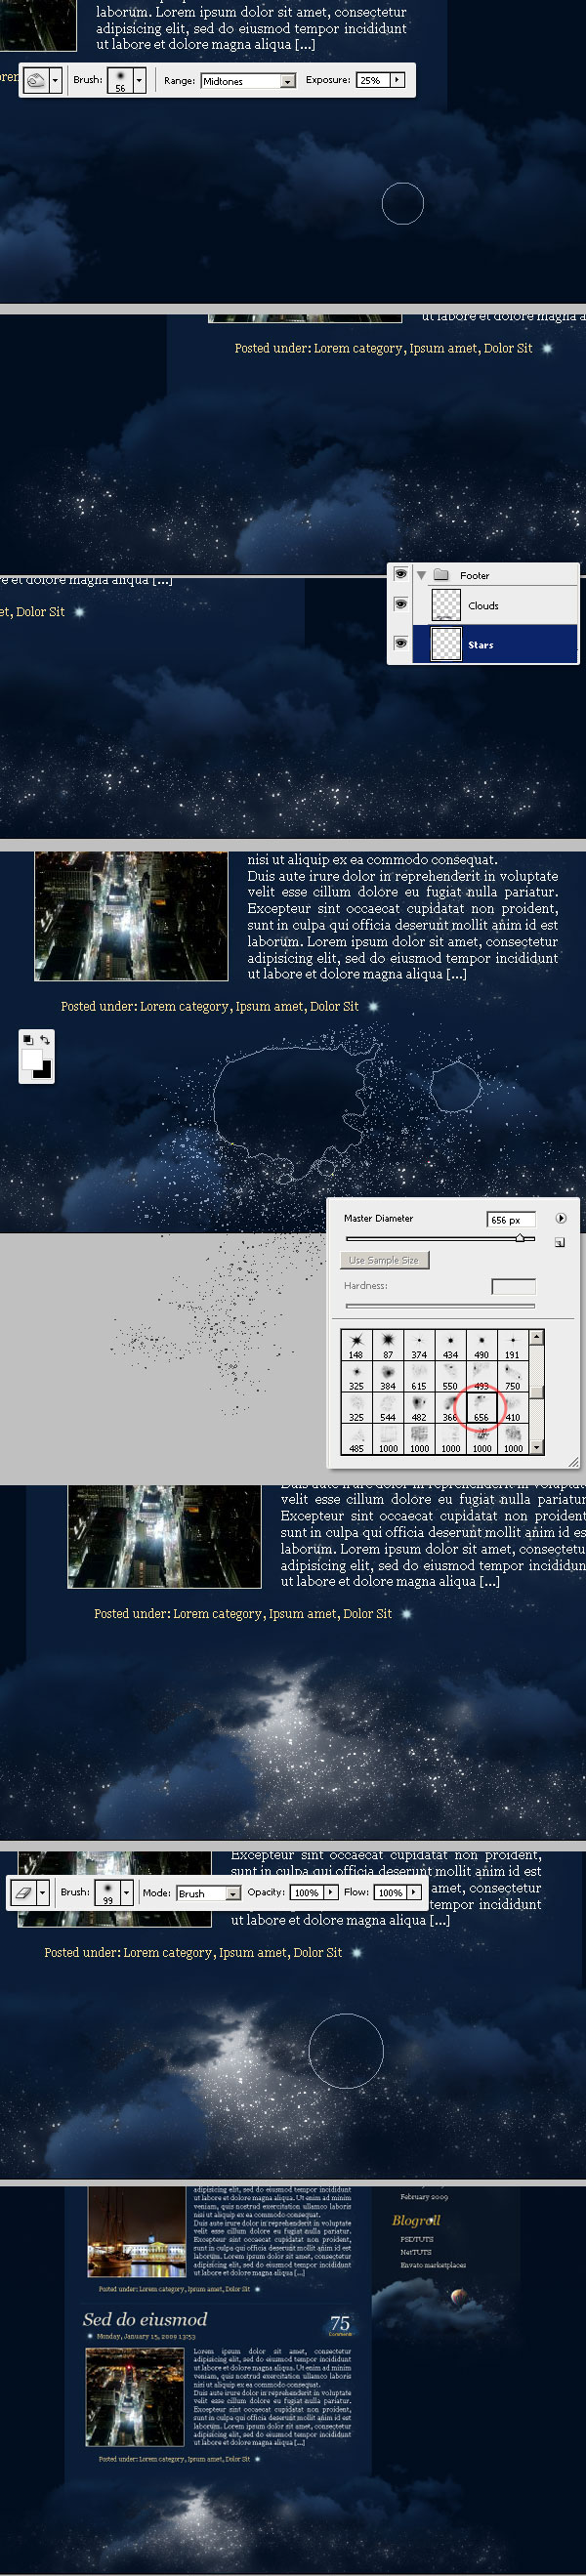


0 Comments::
Post a Comment