I am going to run you through a quick tutorial on making an RSS icon and then adding a Christmas touch to it with a little santa hat. This should be a very easy tutorial for anyone.

So I will start a 263X266px canvas with a white background.
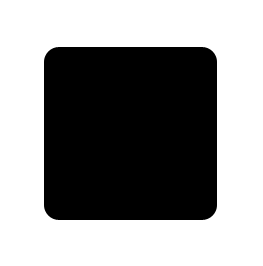
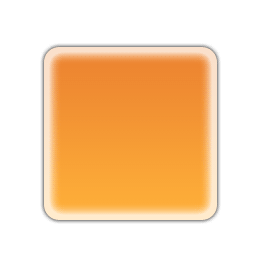
Create a rounded rectangle with a 15px radius
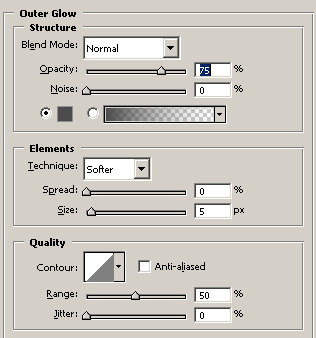
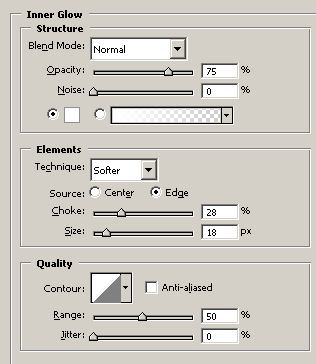
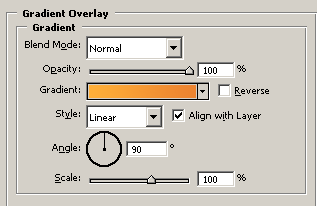
Add these blending options to it
Outer Glow
Inner Glow
Gradient Overlay
Now your rounded shape should look similar to this
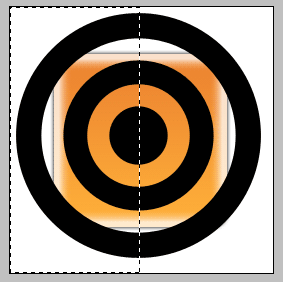
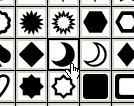
Create a new layer and in your shapes choose the bullseye.
Make a bullseye over your shape

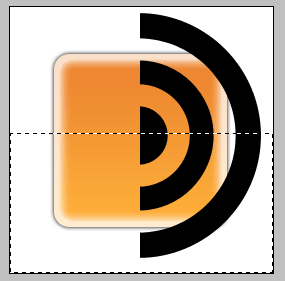
Cut off the left half with your rectangle marquee tool

Now cutoff the bottom half

In a new layer use your elliptical shape tool create a circle and place it where it should be on the rss icon and erase the other part.

Use ctrl+e to merge those two layers together and place the icon in the middle of your rounded rectangle.

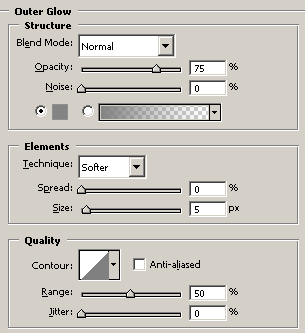
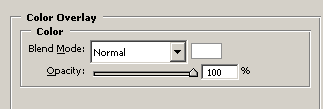
Add these blending options to the RSS symbol
Outer glow
Color Overlay
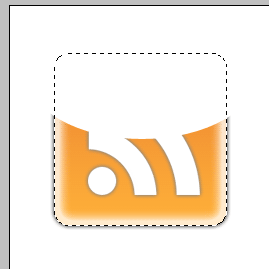
That should look similar to this

Now to add a little web 2.0 feel start a new layer and make a white circle over your icon like this

Next hold down ctrl and click on the little icon beside your rectangle layer to make a selection around it
Now cut out the part of the white circle we just made and place it back in position
Add a layer mask to it and use your gradient tool to fade it.

Next I will use a soft eraser brush to erase the edges of the web 2.0 part

That is a pretty good icon, I just wanted to run you through a quick and easy one to get to the holiday part of it.
I am going to add a santa hat on the icon.
Now grab your shape tool again and get the halfmoon shape.
In a new layer make your halfmoon similar to this

Turn it horizontally and fit it on the top like this

Now use your warp tool to fit the shape on the icon better. Just use ctrl+t on the halfmoon, then right click on it and click warp. Shape it similar to this:

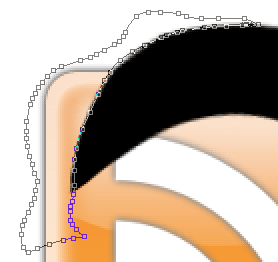
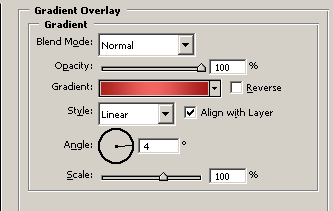
Now we want to add the shape for the red part of the hat. So I am going to use my pen tool and make an outline like this
In a new layer make it a selection and fill it with any color because I am going to add blending options to it.
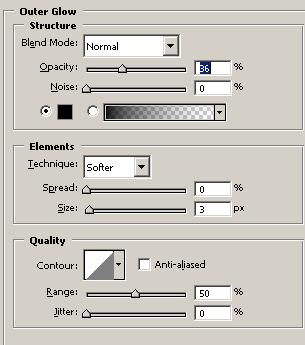
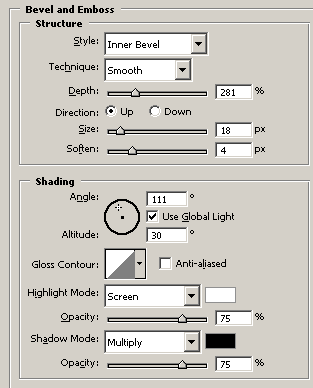
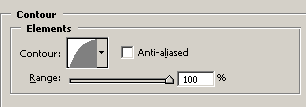
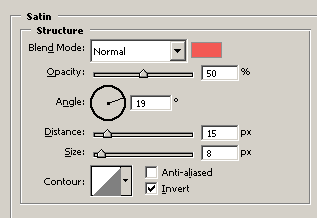
Add the blending options
outer Glow
Bevel and Emboss
Countour
Satin
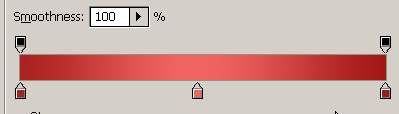
Gradient Overlay
After all that you should have something like this

Add a color overlay with white on the other part of the hat and grab this brush

Make it a little larger and with a light gray color a bit on the top and right so it doesn’t blend in with the background so much

After that change your color to white and color around the edges of the hat to make it look like it look soft

Now add a little ball on the other end of the shape and you are done.


0 Comments::
Post a Comment