In this tutorial you'll learn how to use layer masks to create the effect of one image gradually fading into another.
Have you ever wanted to create an image that depicts two separate images fading into each other?

Open the two images in Photoshop
We're going to use the following two images from our ImageKits in this tutorial:

Special Offer: Save up to $150 when you buy Adobe Photoshop Lightroom software together with Photoshop CS3. Click Here! 
Put the images into one document
So that we can do the fade between the images, we'll need them both in the same document. The easiest way to do this is to shift+click on the "Background" layer in the "books" document, and drag the layer on top of the "clouds" document: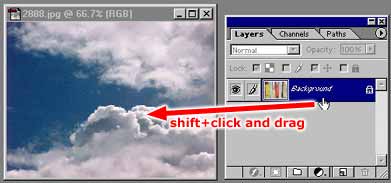
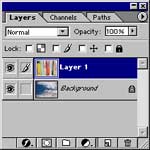
You should then have both your image layers in the "clouds" document, as follows:
Add a layer mask
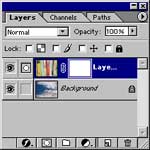
We'll now create a layer mask on the "books" layer. A layer mask behaves just like a regular mask, but it is attached to a specific layer. As with a normal mask, dark areas of the mask hide the underlying layer, while light areas of the mask reveal the underlying layer.To create the layer mask, make sure the "books" layer ("Layer 1") is selected in the Layers palette, then select Layer > Add Layer Mask > Reveal All:
Fill the layer mask with a gradient
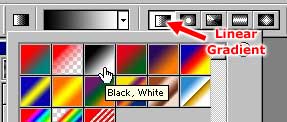
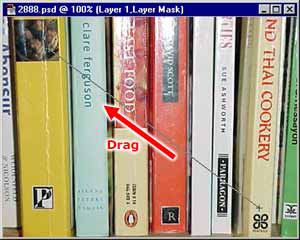
We're now going to fill the layer mask with a gradient fill, going from white in the top left corner to black in the bottom right corner. Remember that white areas allow the layer to show through, and black areas hide the layer, making the underlying layer visible. This is how we will achieve our fade effect!With Layer 1's layer mask still selected in the Layers palette, select the Gradient tool:


Tweaking the fade effect
If you're not happy with the fade effect, you can play with the layer mask to achieve the desired result. Remember that the layer mask can be edited and drawn upon, just like a regular bitmap image!For example, to produce a sharper transition, increase the contrast of the layer mask (Image > Adjust > Brightness/Contrast...):

Enjoy! :)


0 Comments::
Post a Comment