Step1
So I have chosen a US dollar banknote, but you can choose whatever you wish. Just grab a camera and take a photo of some money, or you can download a one-dollar note from Wikipedia. The image size I've used is about 2000 px wide and 900 px high.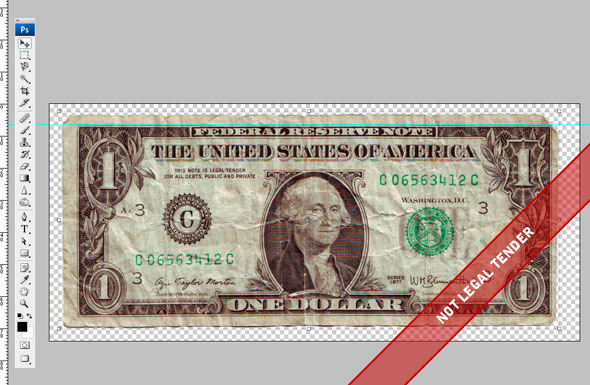
Step2
The first step is to create a layer mask to erase Washington's face. So we add a new shape layer, and using the Ellipse Tool (U), draw an oval shape covering the area with the head. Set Fill to 0 to adjust shape.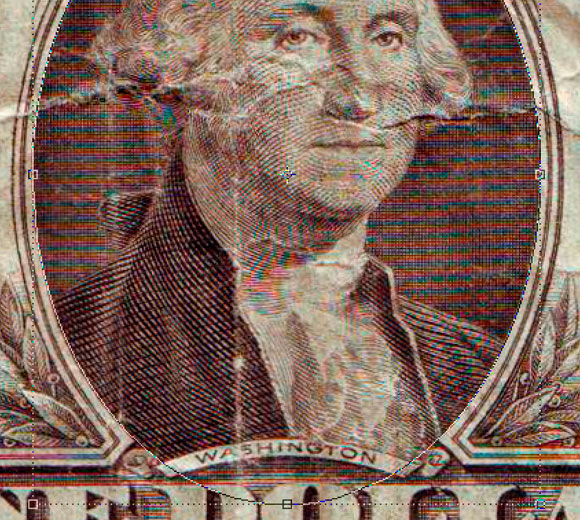
Step3
Now with the Pen Tool (P), we going to draw a path as shown below, highlighted by red.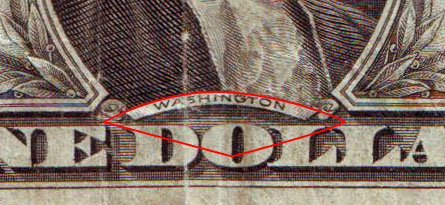
Step 4
Create a Layer Mask (Layer > Layer Mask > Reveal All) on the banknote layer. Then, we'll do four operations:- Ctrl-Click on First Shape Layer (oval) to load selection
- Press D to set Black/White as your background/foreground colors
- Click on the layer mask of the banknote layer
- Alt + Backspace to fill selection
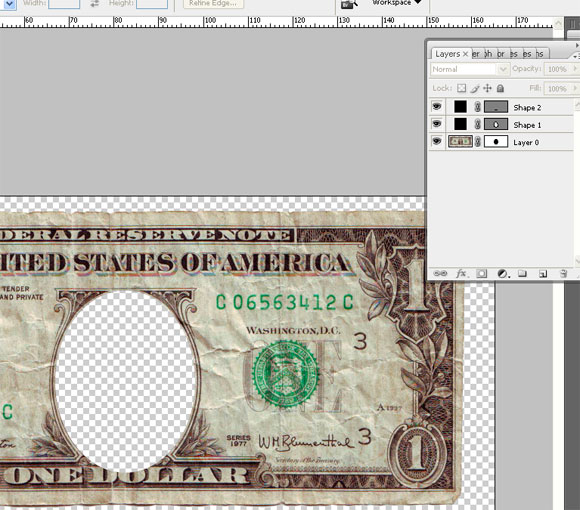
Step 5
Now Ctrl-Click on the other shape layer to load the selection of the part of the oval we wanted to keep. Select white as your foreground color ,and select the layer mask of the banknote layer by clicking on it. Fill selection by using the Alt + Backspace shortcut or just by using a brush (as shown below).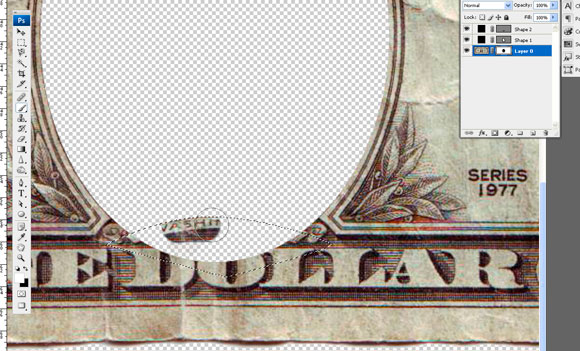
Step 6
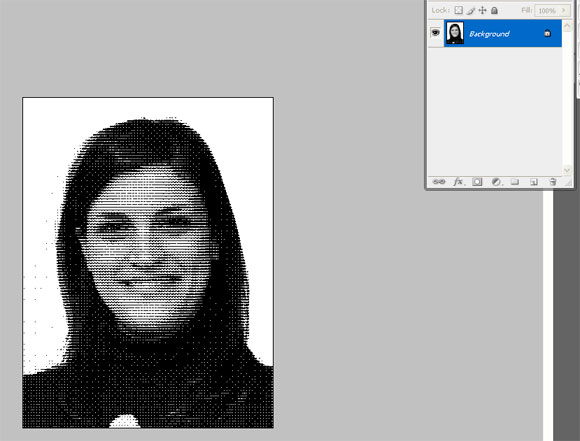
Choose an image to insert. I've chosen my sister's photography :-) It's about 500px high. Something with contrast and white (or bright) background will be best. Now click Image > Mode > Grayscale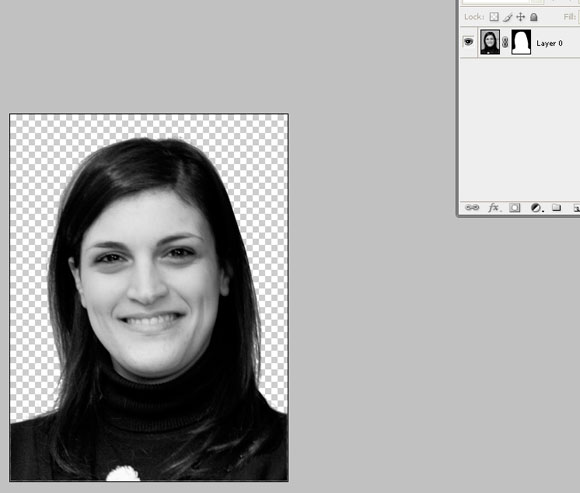
Step 7
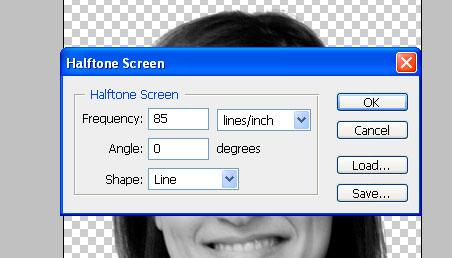
The select Image > Mode > Bitmap. Then choose Halftone screen, keeping the Resolution the same as the original image (300 dpi in my case), then click OK. Then choose your Frequency (about 85 works well in this case, but you can try different values), 0 degrees and "Line" as Shape. Voilà !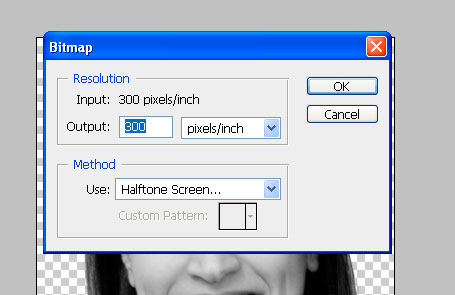
Step 8
Now go to Image > Mode > Grayscale and set Size Ratio "1" as your value. Now using the Magic Wand Tool, select a black point (Contiguous deselected and Tolerance "0"). Then Ctrl + C to copy.Step 8
Come back to our image of the banknote. Create a new layer, fill with white, and set as background. Still on the new layer, press Ctrl + V to paste. Put the photo in center of hole. See the image below.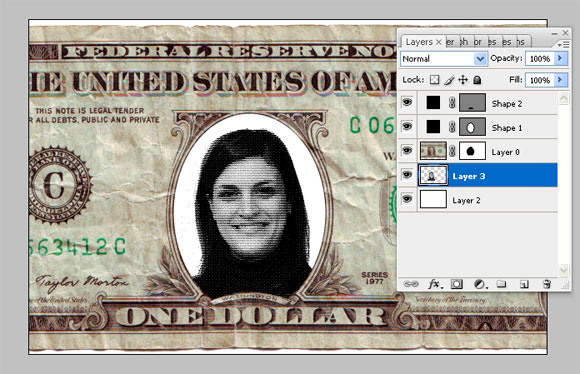
Step 9
Next, go to Image > Adjustment > Hue/Saturation. Use the values shown below. Note that Colorize is ticked. Set the Transparency of the layer to 90%.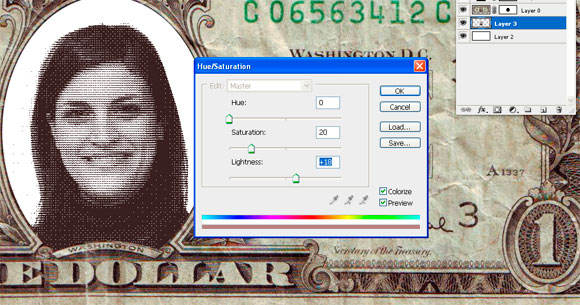
Step 10
Add a new layer between the white background and the photo. Then select the Clone Stamp Tool and choose a soft brush about 100 px.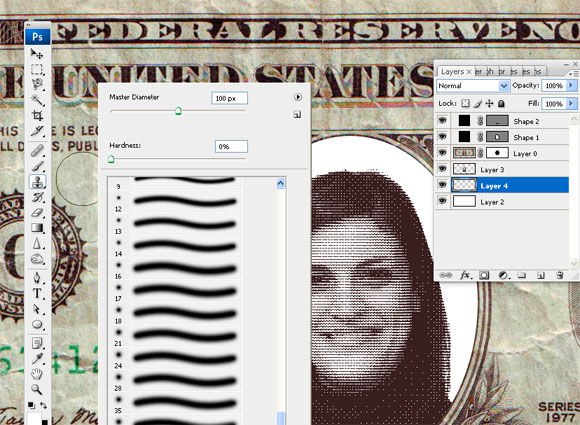
Step 10
To use the Clone Tool, you need to Alt-Click to set a source cloning point. Choose a point to the left of the face where there is an open space of paper. Then start to paint around the face in the photo as shown.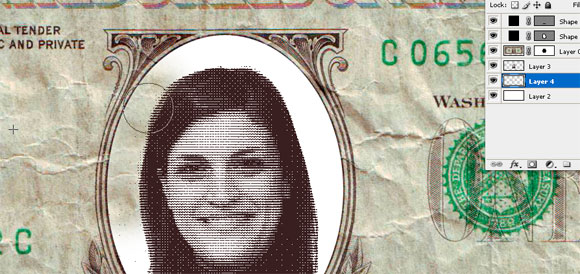
Step 11
And there you have it, your own money!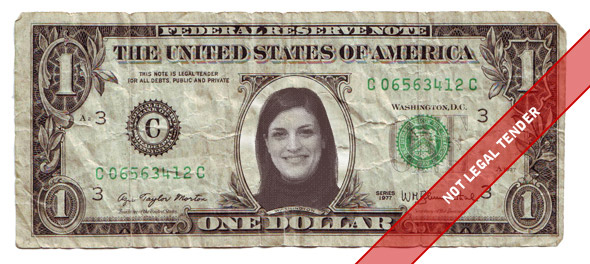


0 Comments::
Post a Comment